Find Space
Find a Location
Partners
Resources
GBP
020 3808 7222
Enquire Now
Office Type
Price
Desks
Amenities
Sale
Home
United Kingdom
crowborough
Office Space in crowborough
415 Office Spaces for Lease in Crowborough, , United Kingdom
Showing 1 - 40 out of 415 spaces
Sort by: Best Match
Previous slide
Next slide
Compare
Worship Square
65 Clifton Street, London
5 DESKS
COWORKING
(B) Clifton Street Car Park • 3 mins walk
(T) Liverpool Street • 8 mins walk
£2,000
/mo
9 other options (1-56 desks)
Enquire
Previous slide
Next slide
Compare
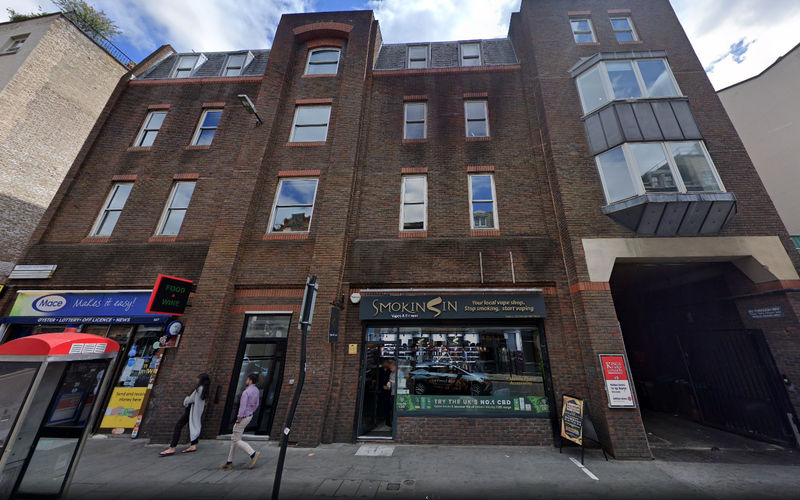
East Ham Business Centre
182-184 High Street North, East Ham
1 DESK
COWORKING
(B) East Ham • 2 mins walk
(T) East Ham • 2 mins walk
£60
/mo
5 other options (1-4 desks)
Enquire
Previous slide
Next slide
Sign 12 get 1 month FREE
Compare
Spare Street Works
2 Spare Street, Elephant And Castle
2 DESKS
COWORKING
(B) Heygate Street (Stop Z) • 1 mins walk
(T) Elephant & Castle • 3 mins walk
£605
/mo
was £660 /mo
Enquire
Previous slide
Next slide
Compare
81 Bridge Road
81 Bridge Road, East Molesey
1 DESK
COWORKING
(B) Old Police Station • 3 mins walk
(T) Hampton Court • 5 mins walk
£198
/mo
5 other options (1-60 desks)
Enquire
Previous slide
Next slide
Compare
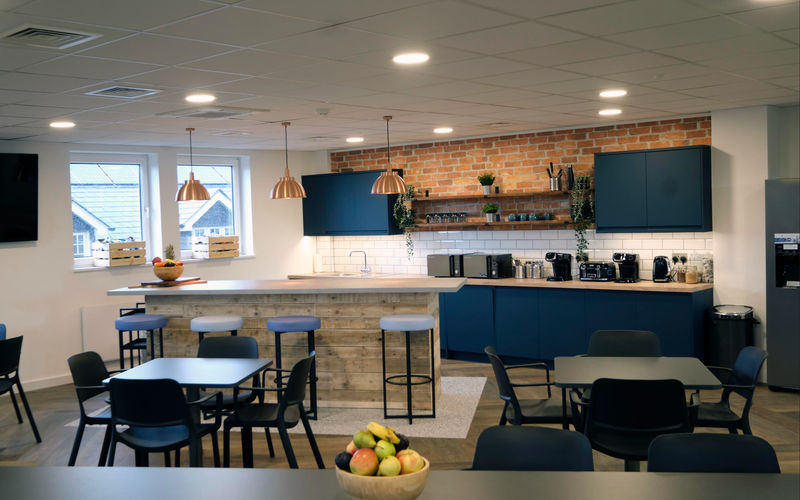
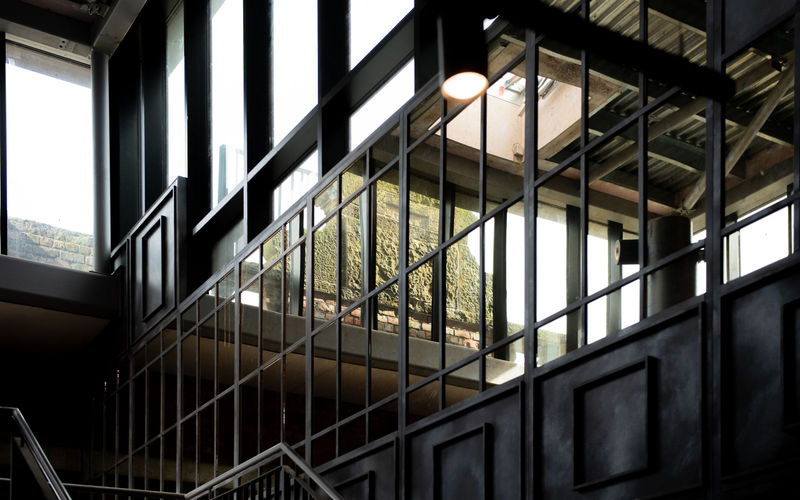
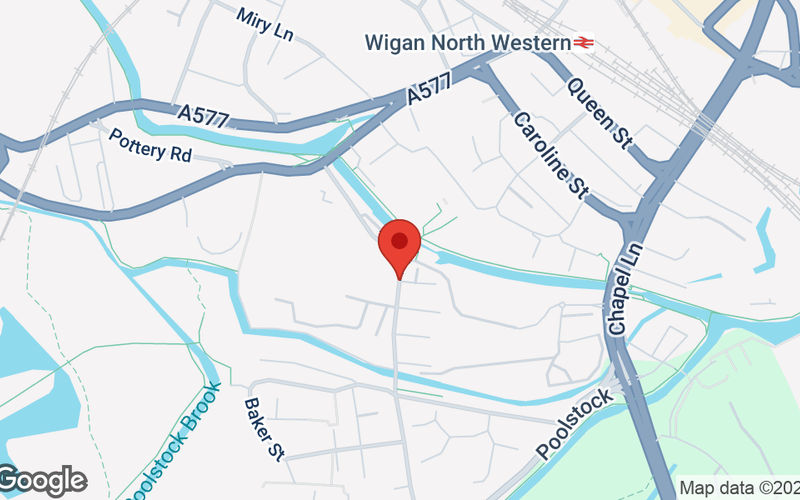
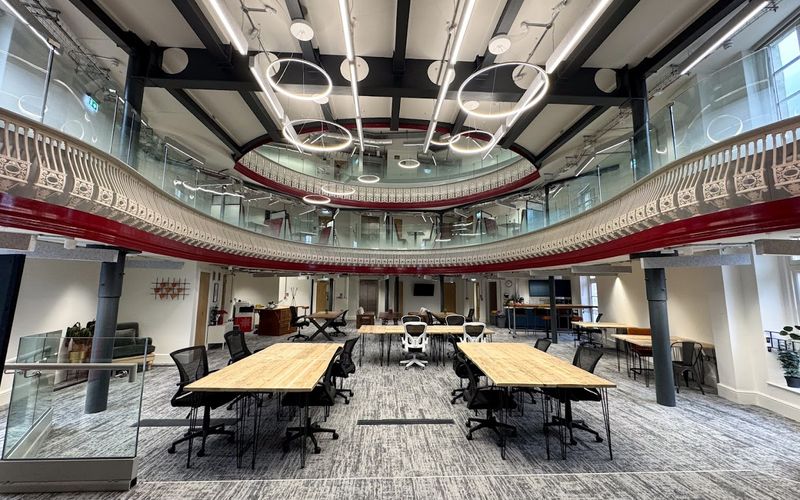
Mill 1
Swan Meadow Road, Greater Manchester
9 DESKS
COWORKING
(B) Pottery Road • 2 mins walk
(T) Wigan North Western • 10 mins walk
£2,025
/mo
14 other options (1-15 desks)
Enquire
Previous slide
Next slide
10% off on 6 months
Compare
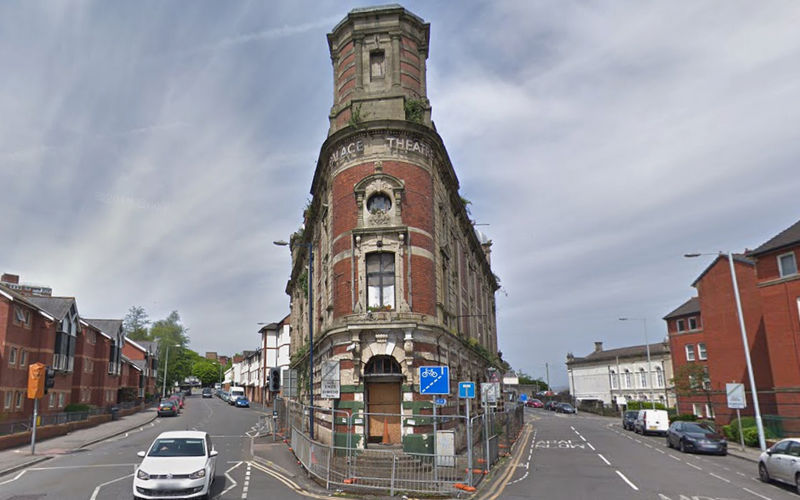
Tramshed Tech Palace
156 High Street Prince Of Wales Road, Swansea
1 DESK
COWORKING
(B) Dyfatty • 2 mins walk
(T) Swansea • 3 mins walk
£97
/mo
was £108 /mo
Enquire
Previous slide
Next slide
Compare
Reliance Wharf
Reliance Wharf, London
2 DESKS
COWORKING
(B) Laburnum Street (Stop KD) • 3 mins walk
(T) Haggerston • 6 mins walk
£588
/mo
10 other options (1-10 desks)
Enquire
Previous slide
Next slide
Compare
Forward House
17 High Street, Henley-in-arden
1 DESK
COWORKING
(B) Three Tuns • 4 mins walk
(T) Henley-in-Arden • 10 mins walk
£249
/mo
8 other options (1-10 desks)
Enquire
Previous slide
Next slide
Compare
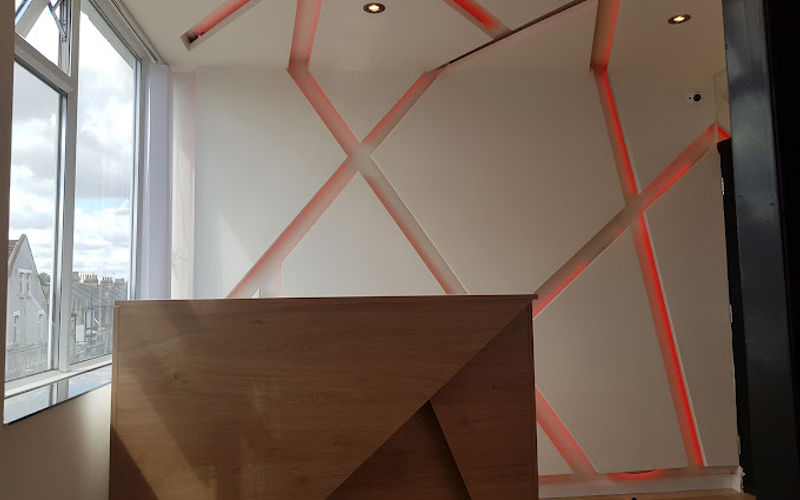
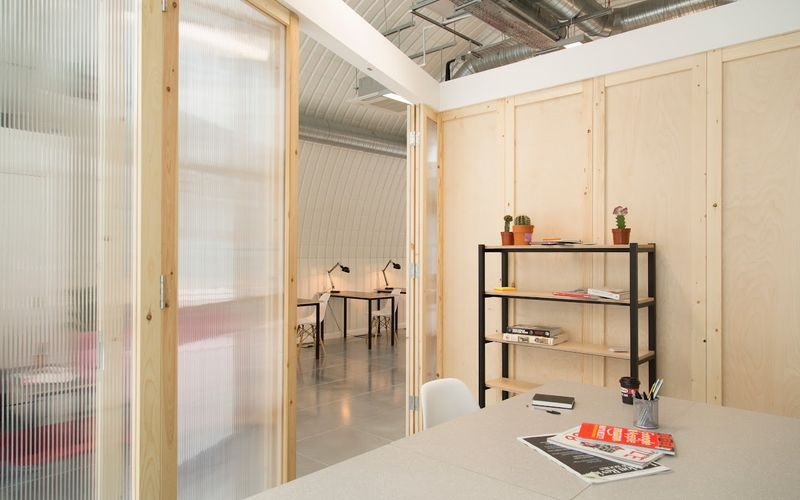
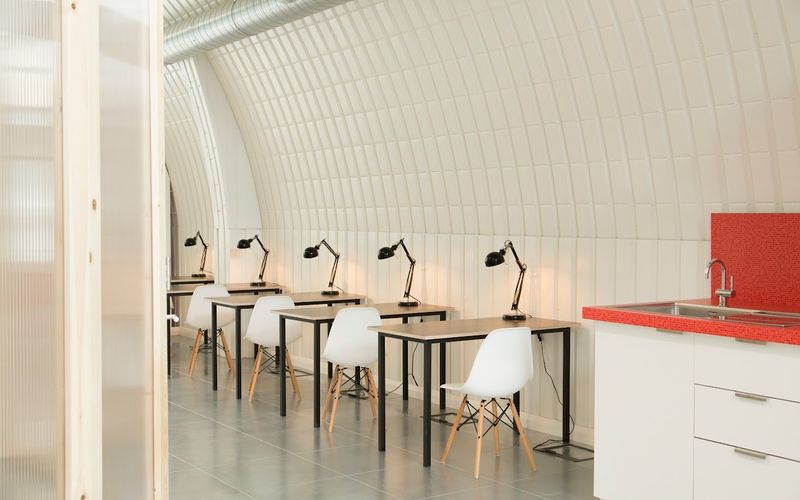
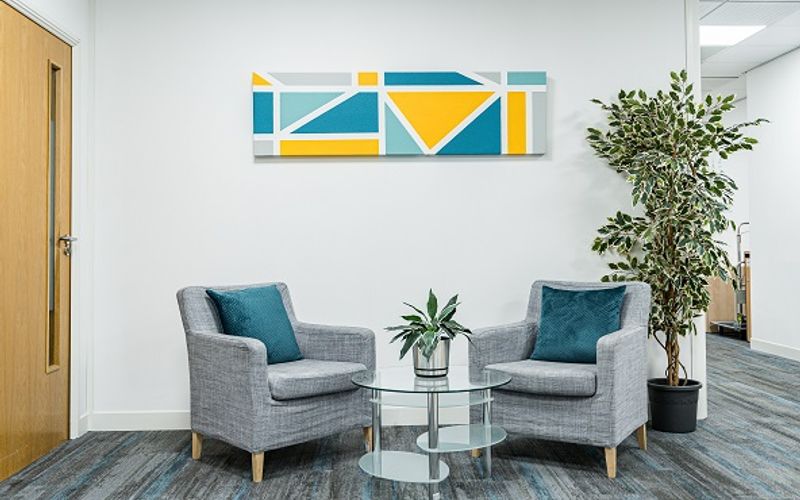
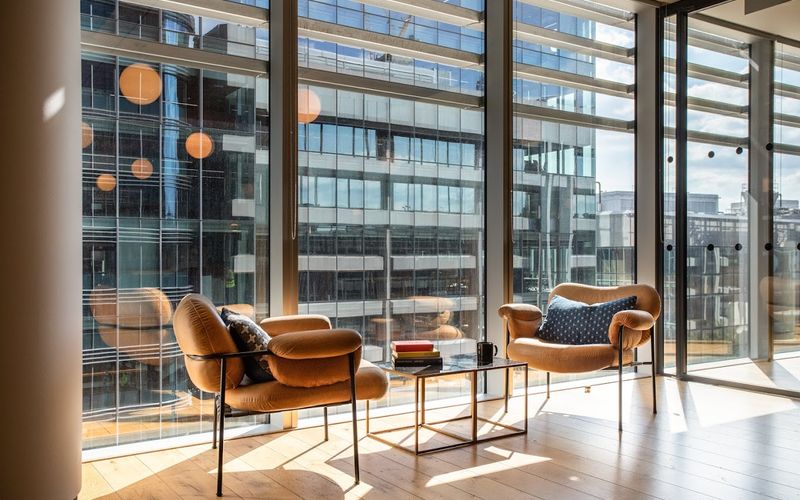
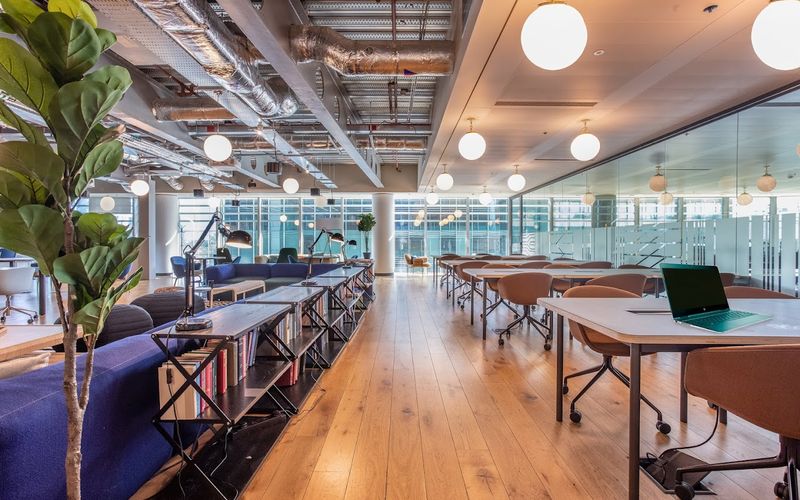
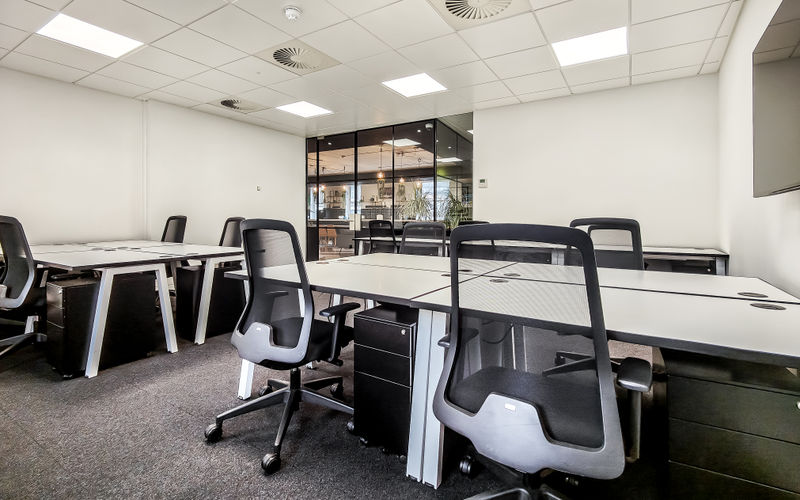
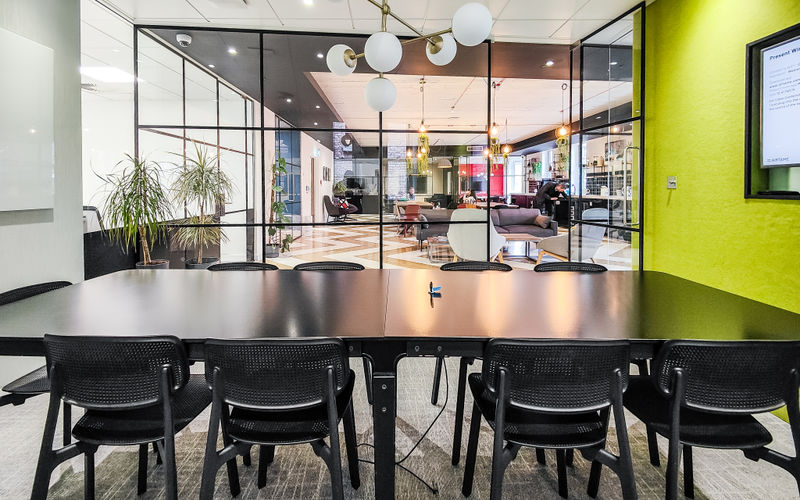
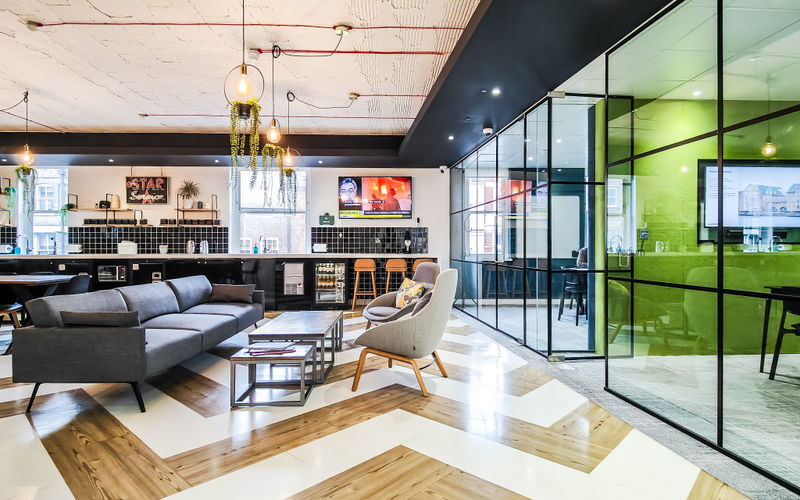
R+
2 Blagrave Street, Reading
2 DESKS
COWORKING
(B) Forbury Road (stop EN) • 1 mins walk
(T) Reading • 1 mins walk
£650
/mo
18 other options (1-15 desks)
Enquire
Previous slide
Next slide
Compare
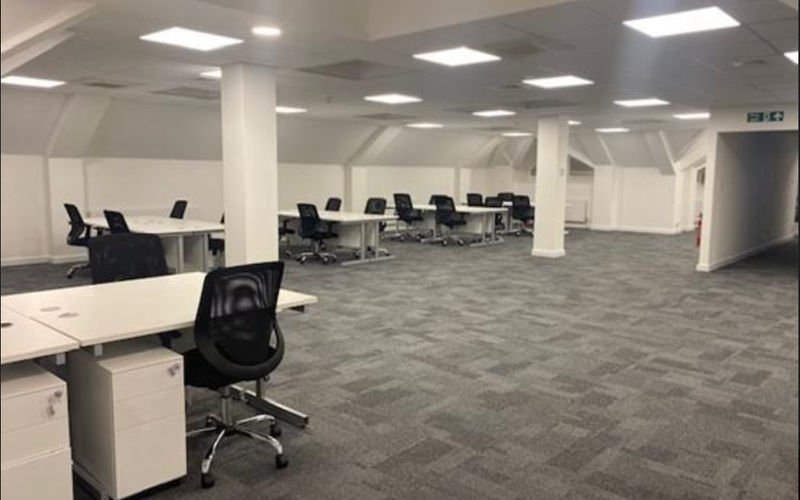
Millbank Tower
21-24 Millbank, Westminster
5 DESKS
COWORKING
(B) Tate Britain Millbank Millennium Pier (Stop N) • 1 mins walk
(T) Pimlico • 10 mins walk
£2,500
/mo
6 other options (1-30 desks)
Enquire
Previous slide
Next slide
Compare
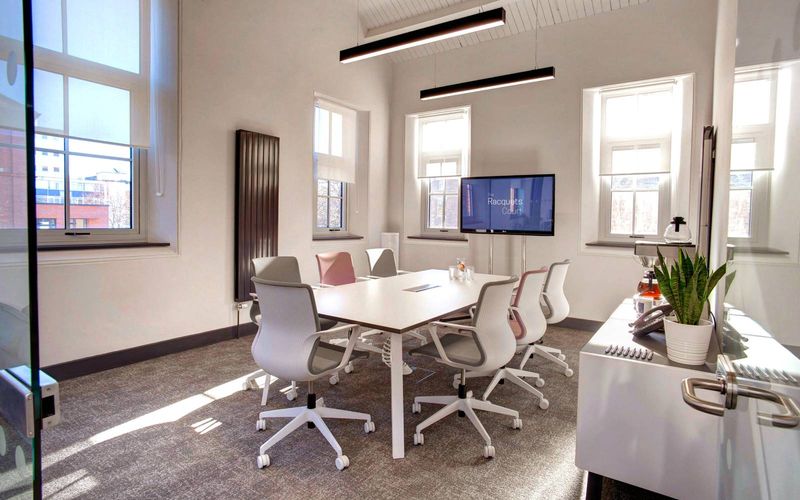
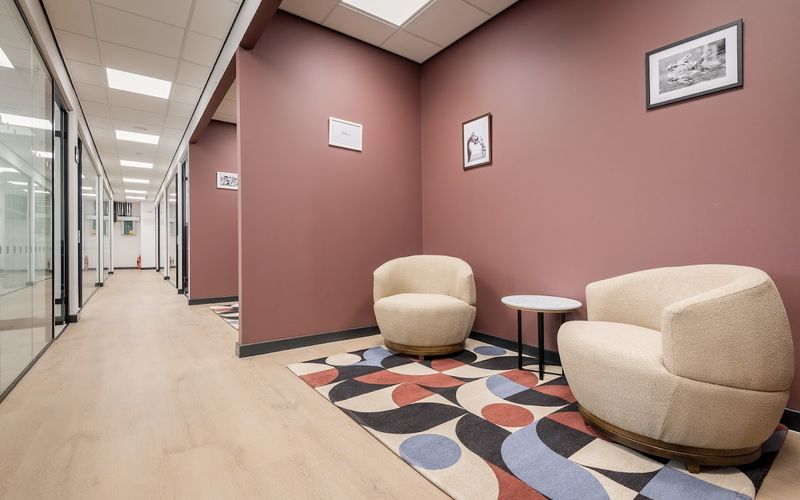
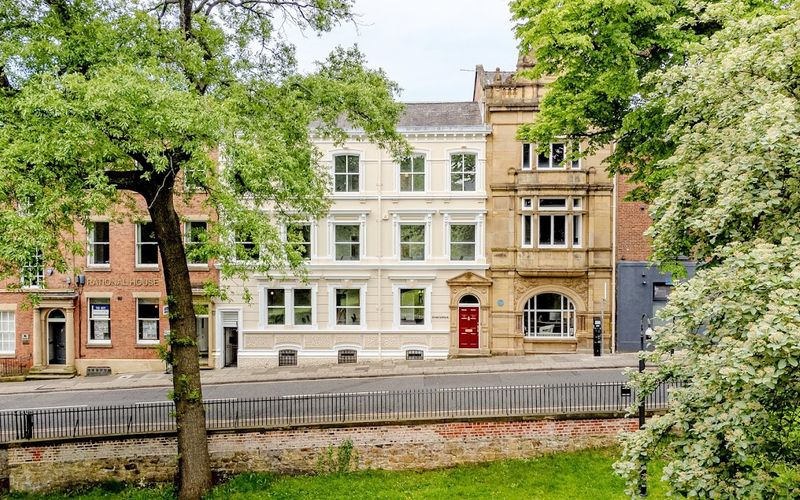
The Racquets Court
College Street, Newcastle Upon Tyne
1 DESK
COWORKING
(B) John Dobson Street • 1 mins walk
(T) Haymarket • 4 mins walk
£270
/mo
6 other options (1-24 desks)
Enquire
Previous slide
Next slide
Compare
Journey Campus
9 Journey Campus Castle Park, Cambridge
2 DESKS
COWORKING
(B) The Busway Shire Hall • 2 mins walk
(T) Cambridge • 43 mins walk
£400
/mo
5 other options (1-5 desks)
Enquire
Previous slide
Next slide
Compare
The Leadenhall Building
122 Leadenhall Street, City Of London
1 DESK
COWORKING
(B) St.Mary Axe • 2 mins walk
(T) Fenchurch Street • 5 mins walk
£127
/mo
12 other options (1-13 desks)
Enquire
Previous slide
Next slide
Compare
58 Wood Lane
58 Wood Lane, White City
2 DESKS
COWORKING
(B) White City Tube Station • 1 mins walk
(T) Wood Lane • 4 mins walk
£596
/mo
5 other options (1-5 desks)
Enquire
Previous slide
Next slide
Compare
130 Shoreditch High Street
130 Shoreditch High Street, Greater London
5 DESKS
COWORKING
(B) Shoreditch Church (Stop P) • 1 mins walk
(T) Shoreditch High Street • 6 mins walk
£1,000
/mo
5 other options (1-5 desks)
Enquire
Previous slide
Next slide
Compare
Worship Square
65 Clifton Street, London
1 DESK
COWORKING
(B) Clifton Street Car Park • 3 mins walk
(T) Liverpool Street • 8 mins walk
£400
/mo
9 other options (1-56 desks)
Enquire
Previous slide
Next slide
Compare
The Generator Quay House
Kings Wharf, Exeter
1 DESK
COWORKING
(B) The Mount • 1 mins walk
(T) St James Park • 11 mins walk
£225
/mo
24 other options (1-20 desks)
Enquire
Previous slide
Next slide
Compare
Broxhead House
60 Barbados Rd, Bordon
4 DESKS
COWORKING
(B) The Phoenix Theatre • 4 mins walk
(T) Bentley • 90 mins walk
£740
/mo
5 other options (1-5 desks)
Enquire
Previous slide
Next slide
Compare
Winckley Square
33-34 Winckley Square, Preston
3 DESKS
COWORKING
(B) Preston Railway Station • 6 mins walk
(T) Preston • 6 mins walk
£585
/mo
5 other options (1-5 desks)
Enquire
Previous slide
Next slide
Compare
Beyond - Aldgate Tower
2 Leman Street, Greater London
1 DESK
COWORKING
(B) Aldgate East tube station • 1 mins walk
(T) Aldgate East • 1 mins walk
£350
/mo
10 other options (1-80 desks)
Enquire
Previous slide
Next slide
Compare
STC House
7 Elmfield Road, Greater London
4 DESKS
COWORKING
(B) Elmfield Road / The Mall (Stop V) • 2 mins walk
(T) Bromley South • 4 mins walk
£420
/mo
4 other options (1-10 desks)
Enquire
Previous slide
Next slide
Compare
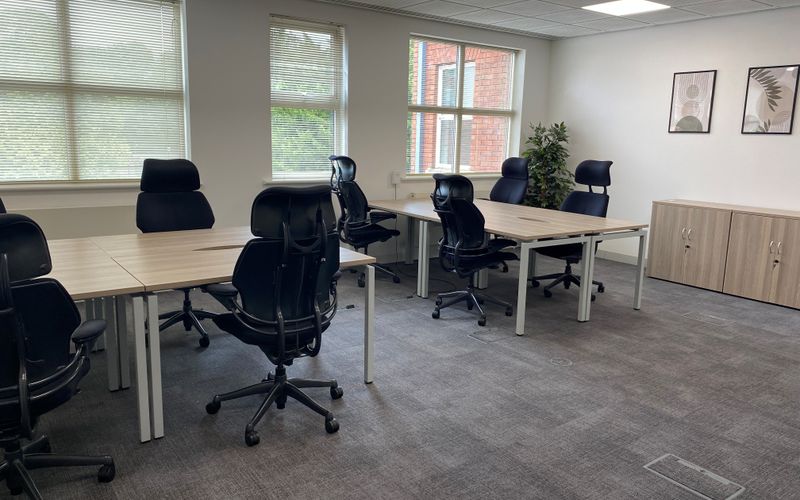
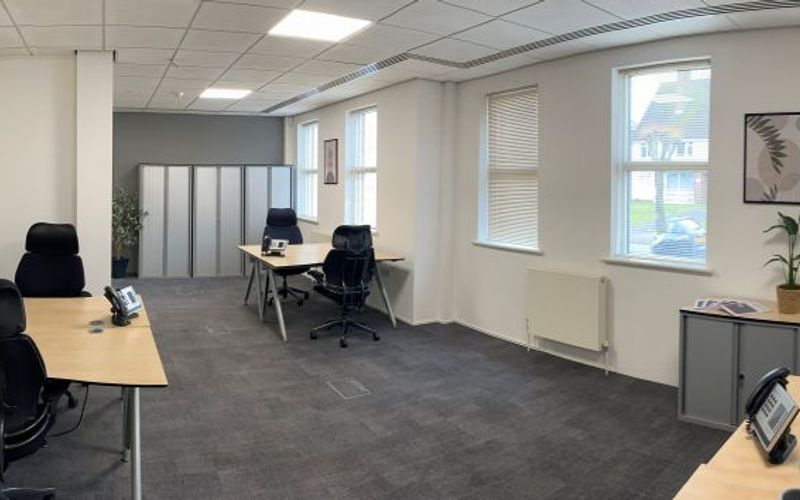
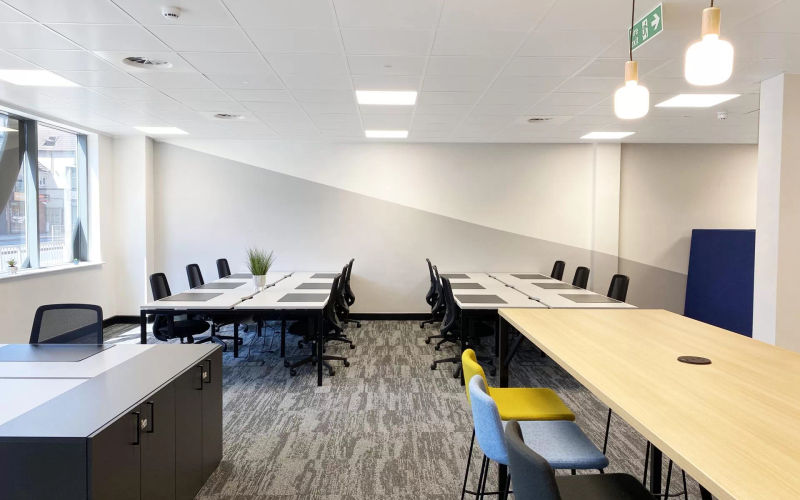
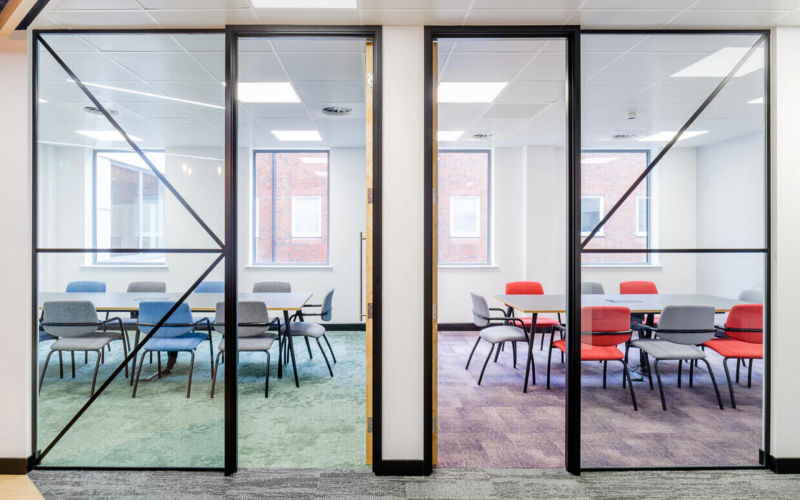
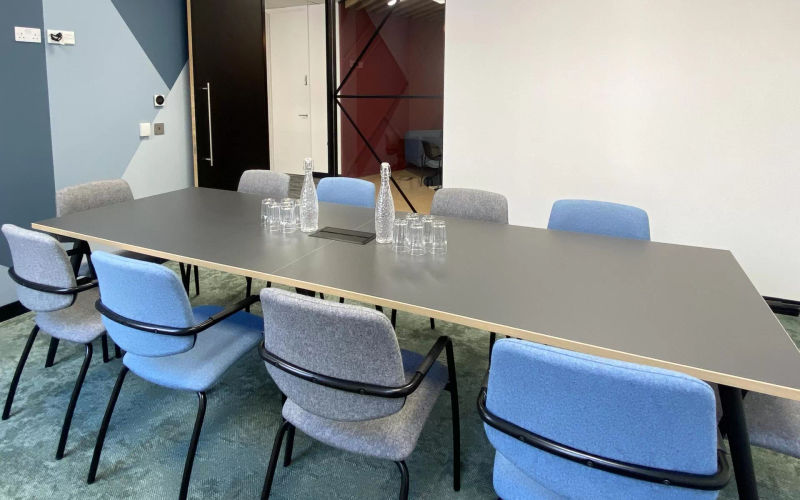
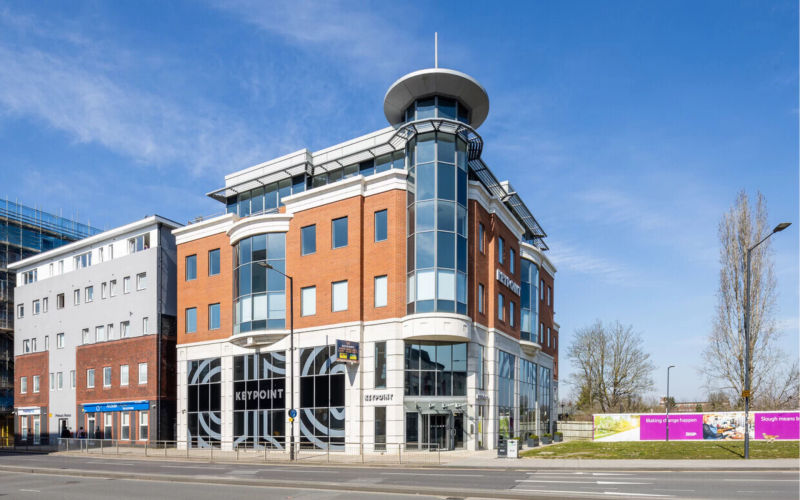
Keypoint
17-23 High Street, Slough
1 DESK
COWORKING
(B) Library (Stop Y) • 1 mins walk
(T) Slough • 7 mins walk
£150
/mo
4 other options (1-30 desks)
Enquire
Previous slide
Next slide
Compare
HasleWorks
2-4 Petworth Road, Haslemere
4 DESKS
COWORKING
(B) Town Hall • 2 mins walk
(T) Haslemere • 10 mins walk
£1,200
/mo
3 other options (1-4 desks)
Enquire
Previous slide
Next slide
10% OFF
Compare
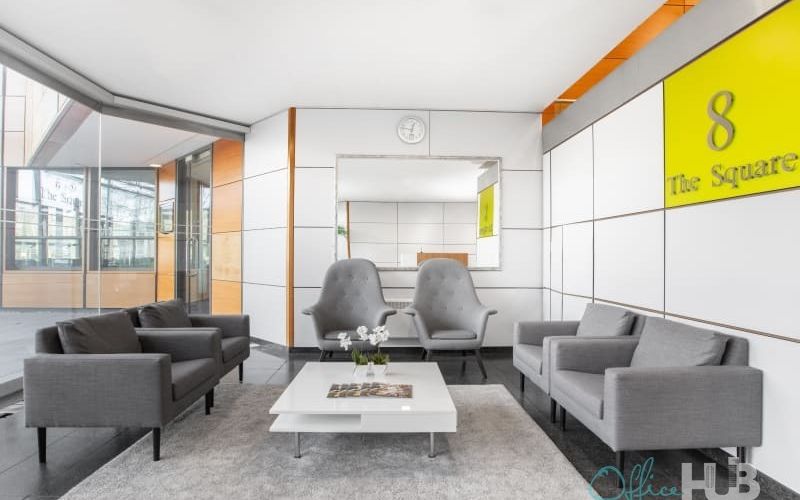
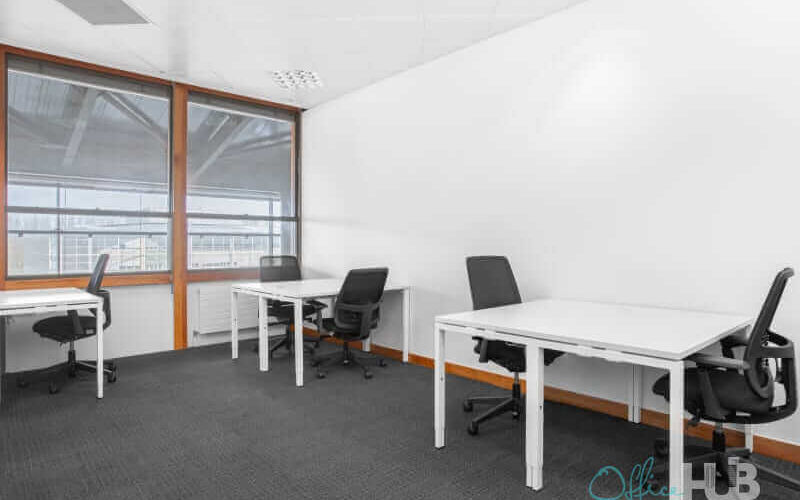
The Square Stockley Park
6-9 The Square, Uxbridge
1 DESK
COWORKING
(B) The Square (Stop G) • 2 mins walk
(T) Hayes & Harlington • 24 mins walk
£263
/mo
was £292 /mo
Enquire
Previous slide
Next slide
Compare
IDEALondon
69 Wilson Street, London
2 DESKS
COWORKING
(B) Clifton Street Car Park • 2 mins walk
(T) Old Street • 7 mins walk
£800
/mo
10 other options (1-10 desks)
Enquire
Previous slide
Next slide
10% off on 6 months
Compare
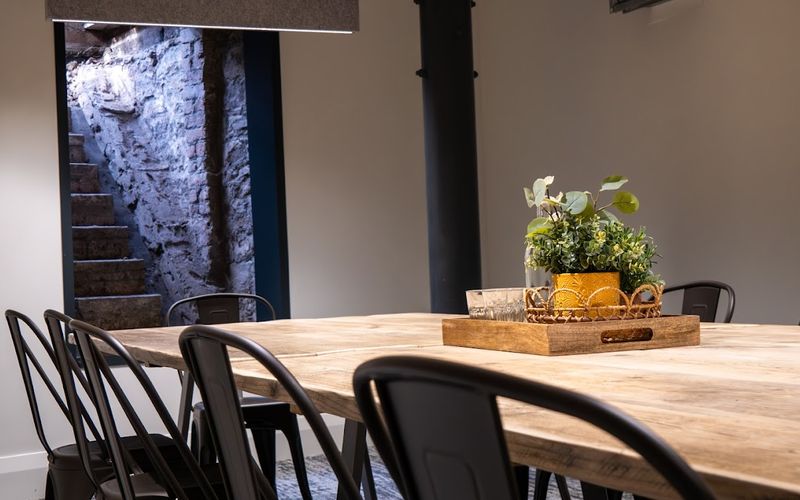
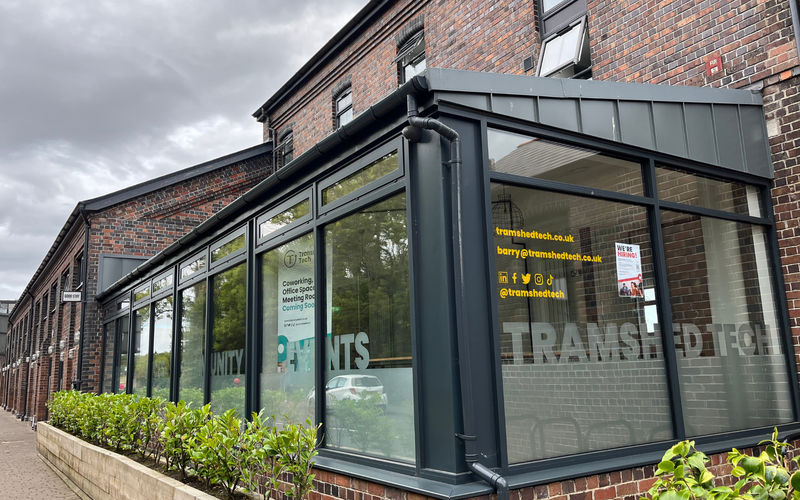
Tramshed Tech Goodsheds Barry
Goodsheds Lofts Hood Rd, Barry
3 DESKS
COWORKING
(B) Barry ASDA • 4 mins walk
(T) Barry • 8 mins walk
£187
/mo
was £208 /mo
Enquire
Previous slide
Next slide
Compare
IDEALondon
69 Wilson Street, London
4 DESKS
COWORKING
(B) Clifton Street Car Park • 2 mins walk
(T) Old Street • 7 mins walk
£1,600
/mo
10 other options (1-10 desks)
Enquire
Previous slide
Next slide
Sign 06 get 1 month FREE
Compare
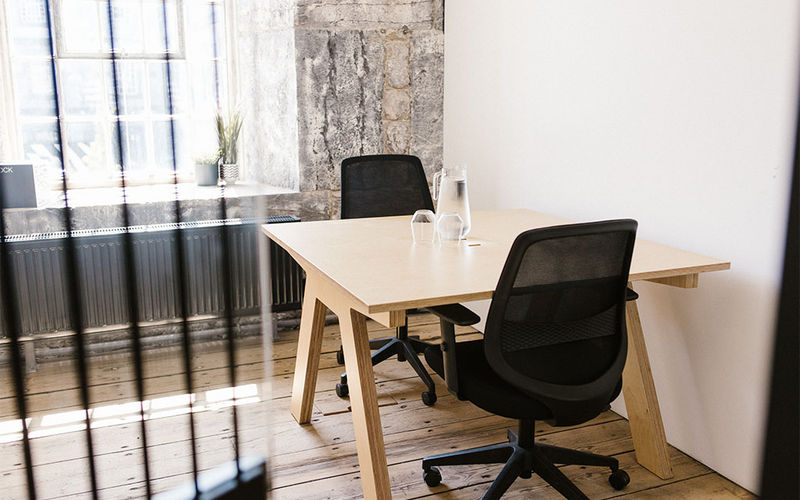
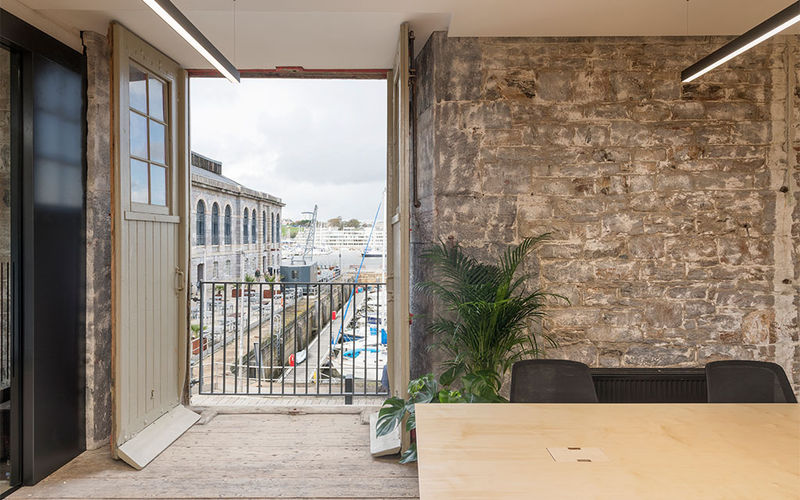
Royal William Yard
23 Melville Building, Plymouth
1 DESK
COWORKING
(B) Royal William Yard • 2 mins walk
(T) Devonport • 30 mins walk
£162
/mo
was £195 /mo
Enquire
Previous slide
Next slide
Compare
HasleWorks
2-4 Petworth Road, Haslemere
3 DESKS
COWORKING
(B) Town Hall • 2 mins walk
(T) Haslemere • 10 mins walk
£900
/mo
3 other options (1-4 desks)
Enquire
Previous slide
Next slide
Compare
Runway East Temple Meads
101 Victoria Street, Redcliffe
3 DESKS
COWORKING
(B) Victoria Street (R6) • 1 mins walk
(T) Bristol Temple Meads railway station • 7 mins walk
£1,125
/mo
1 other options (1-3 desks)
Enquire
Previous slide
Next slide
Compare
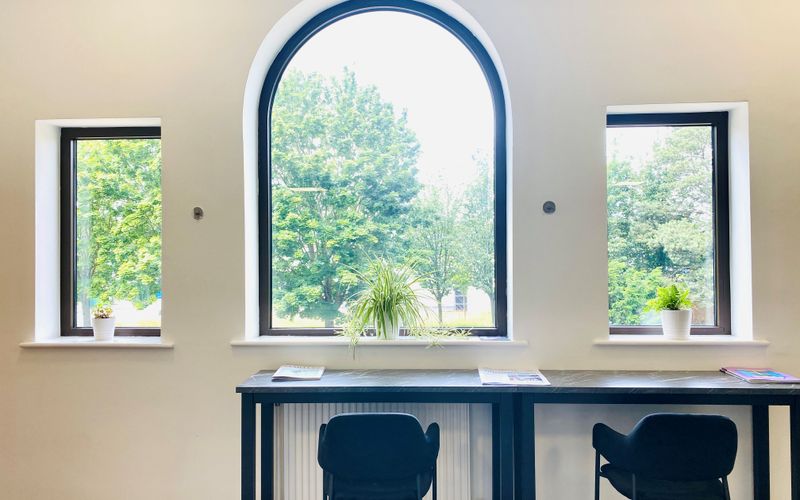
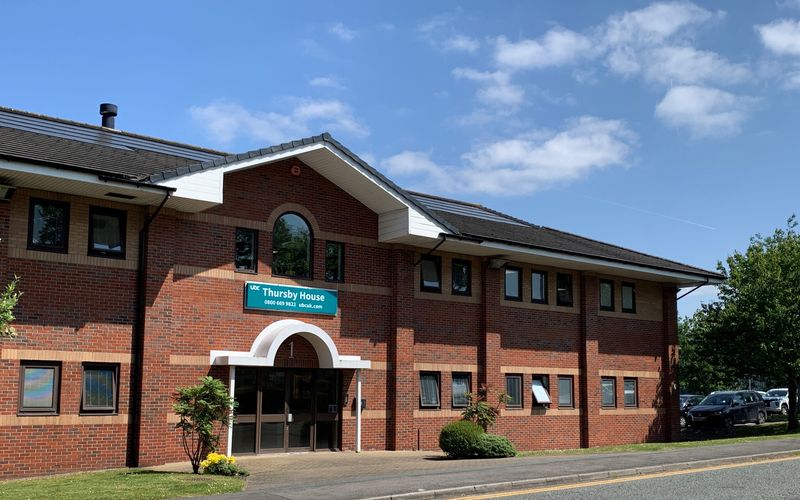
Thursby House
1 Thursby Road, Birkenhead
5 DESKS
COWORKING
(B) Bromborough Retail Park • 3 mins walk
(T) Bromborough Rake • 18 mins walk
£1,000
/mo
10 other options (1-7 desks)
Enquire
Previous slide
Next slide
Compare
R+
2 Blagrave Street, Reading
9 DESKS
COWORKING
(B) Forbury Road (stop EN) • 1 mins walk
(T) Reading • 1 mins walk
£2,925
/mo
18 other options (1-15 desks)
Enquire
Previous slide
Next slide
10% OFF
Compare
Glasgow Airport
India Of Inchinnan Greenock Road Ground, Renfrew
1 DESK
COWORKING
(B) Greenock Road • 4 mins walk
(T) Clydebank • 90 mins walk
£147
/mo
was £163 /mo
Enquire
Previous slide
Next slide
Compare
Reliance Wharf
Reliance Wharf, London
3 DESKS
COWORKING
(B) Laburnum Street (Stop KD) • 3 mins walk
(T) Haggerston • 6 mins walk
£882
/mo
10 other options (1-10 desks)
Enquire
Previous slide
Next slide
Compare
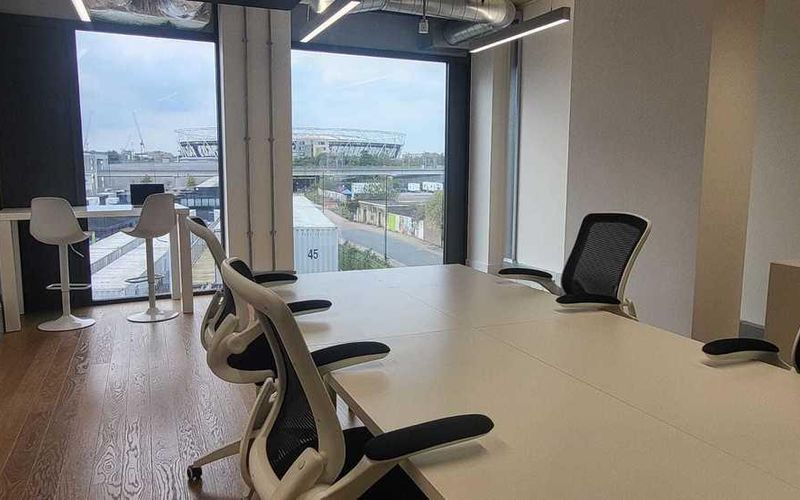
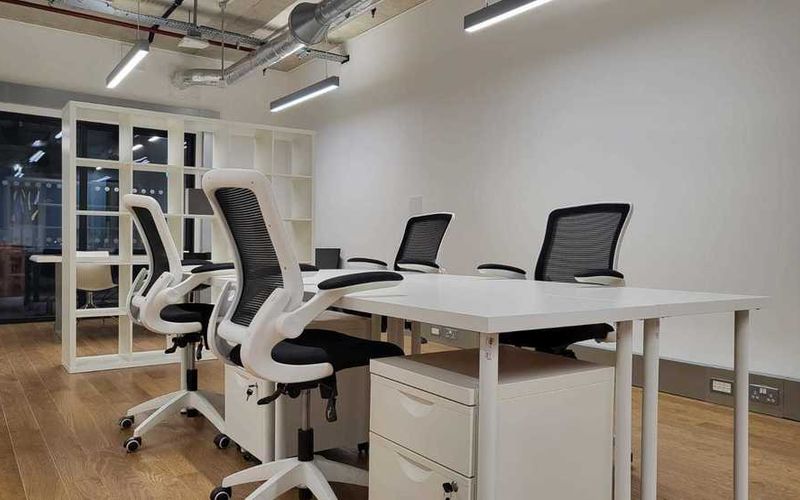
Corn House
Marshgate Lane, London
17 DESKS
COWORKING
(B) Pudding Mill Lane • 5 mins walk
(T) Hackney Wick • 16 mins walk
£3,400
/mo
24 other options (1-85 desks)
Enquire
Previous slide
Next slide
Compare
Bournemouth Aviation Park West
Target Road, Christchurch
4 DESKS
COWORKING
(B) Commercial Road • 7 mins walk
(T) Pokesdown • 116 mins walk
£360
/mo
20 other options (1-20 desks)
Enquire
Previous slide
Next slide
Compare
Epsom Square
Epsom High Street, Epsom
5 DESKS
COWORKING
(B) High Street • 1 mins walk
(T) Epsom • 5 mins walk
£1,500
/mo
8 other options (1-10 desks)
Enquire
Previous slide
Next slide
Compare
The Nest Co-Working Space
2-4 Sampson Street, Greater London
50 DESKS
COWORKING
(B) Sampson Street • 1 mins walk
(T) Wapping • 7 mins walk
£21,750
/mo
8 other options (1-50 desks)
Enquire
Previous slide
Next slide
Compare
Three Tuns House
109 Borough High Street, Borough
5 DESKS
COWORKING
(B) The Hop Exchange • 3 mins walk
(T) Borough • 5 mins walk
£3,245
/mo
5 other options (1-16 desks)
Enquire
Previous slide
Next slide
Compare
Venture X White City
1 Ariel Way, London
1 DESK
COWORKING
(B) White City Bus Station (Stop WH) • 2 mins walk
(T) Wood Lane • 3 mins walk
£480
/mo
7 other options (1-8 desks)
Enquire
Previous
1
2
More pages
11
Next


-London-East-Ham-182-184-High-Street-North-3967870.jpg)


-Warwickshire-Henley-in-Arden-17-High-Street-1088609.jpg)

-England-Berkshire-2-Blagrave-Street-2032589.jpg)
-England-Berkshire-2-Blagrave-Street-2032541.jpg)

-England-Berkshire-2-Blagrave-Street-2032565.jpg)
-England-Berkshire-2-Blagrave-Street-2032517.jpg)
-England-Berkshire-2-Blagrave-Street-2032469.jpg)
-England-Berkshire-2-Blagrave-Street-2032613.jpg)
-England-Berkshire-2-Blagrave-Street-2032493.jpg)
-England-Berkshire-2-Blagrave-Street-1888279.jpg)


-London-Westminster-21-24-Millbank-4050373.jpg)


-England-Greater-London-122-Leadenhall-Street-3961760.jpg)


-London-White-City-58-Wood-Lane-3967020.jpg)


-England-Exeter-Kings-Wharf-4017455.jpg)


-England-Bordon-60-Barbados-RD-4015430.jpg)


-England-Greater-London-2-Leman-Street-3965074.jpg)


-England-Greater-London-7-Elmfield-Road-3976337.jpg)

-England-Slough-17-23-High-Street-1947287.jpg)
-England-Slough-17-23-High-Street-1947323.jpg)
-England-Slough-17-23-High-Street-1947305.jpg)

-England-Slough-17-23-High-Street-1937389.jpg)


-England-Haslemere-2-4-Petworth-Road-1971997.jpg)

-England-Haslemere-2-4-Petworth-Road-1971993.jpg)


-Middlesex-Uxbridge-6-9-6-9-The-Square-2355182.jpg)


-England-London-69-Wilson-street-1954159.jpg)


-England-London-69-Wilson-Street-3981608.jpg)


-Bristol-Redcliffe-101-Victoria-Street-3989264.jpg)


-England-Birkenhead-1-Thursby-Road-1571895.jpg)


-Glasgow-Renfrew-Greenock-Road-3834134.jpg)


-London-London-10-Marshgate-Lane-1923500.jpg)


-England-East-Parley-Target-Road-3854569.jpg)


-Surrey-Epsom-Epsom-High-Street-1867865.jpg)


-London-Borough-109-Borough-High-Street-2204438.jpg)


-London-London-1-Ariel-Way-1387958.jpg)