Find Space
Find a Location
Partners
Resources
AUD
1300 770 200
Enquire Now
Office Type
Price
Desks
Amenities
Sale
Home
Australia
balcatta
Office Space in balcatta
252 Office Spaces for Lease in Balcatta, , Australia
Showing 1 - 40 out of 252 spaces
Sort by: Best Match
Previous slide
Next slide
Compare
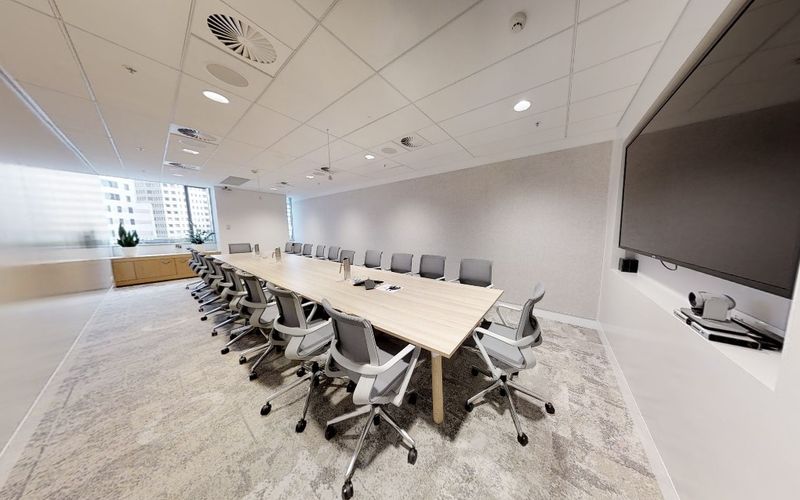
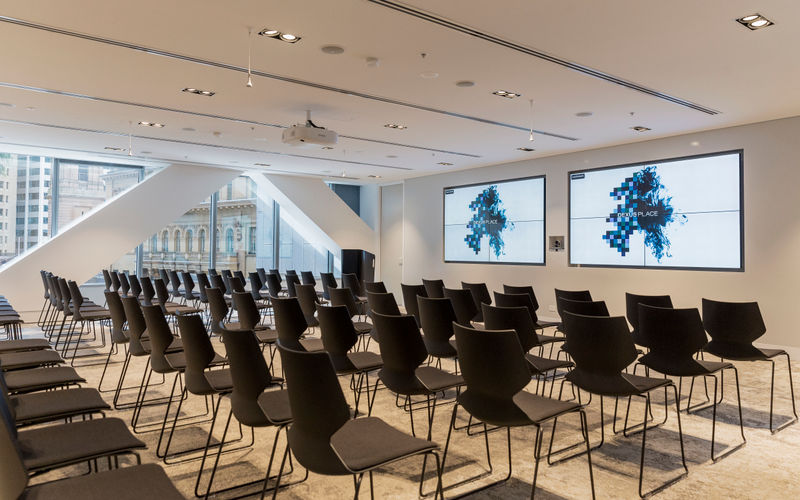
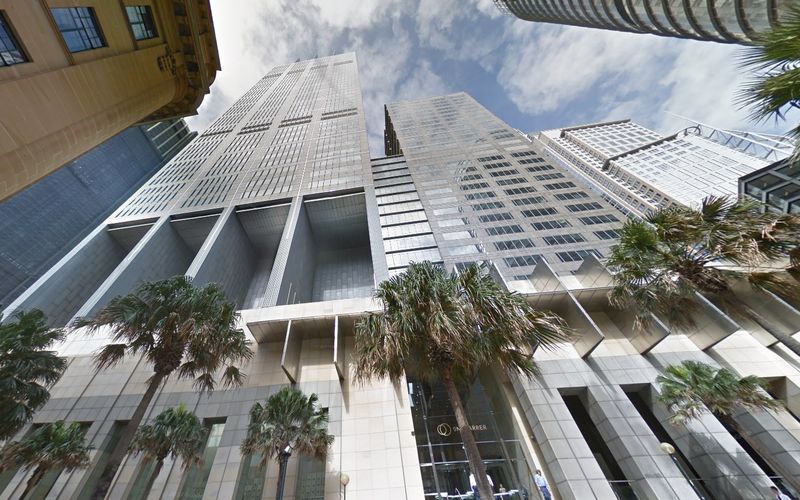
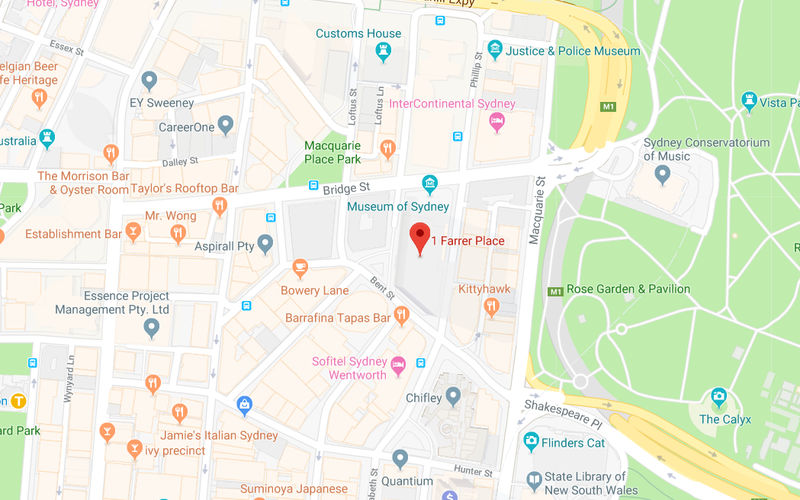
Governor Phillip Tower
1 Farrer Place, Sydney
1 DESK
VIRTUAL
(B) Loftus St at Bridge St • 1 mins walk
(T) Circular Quay • 5 mins walk
A$75
/mo
2 other options (1-10 desks)
Enquire
Previous slide
Next slide
Compare
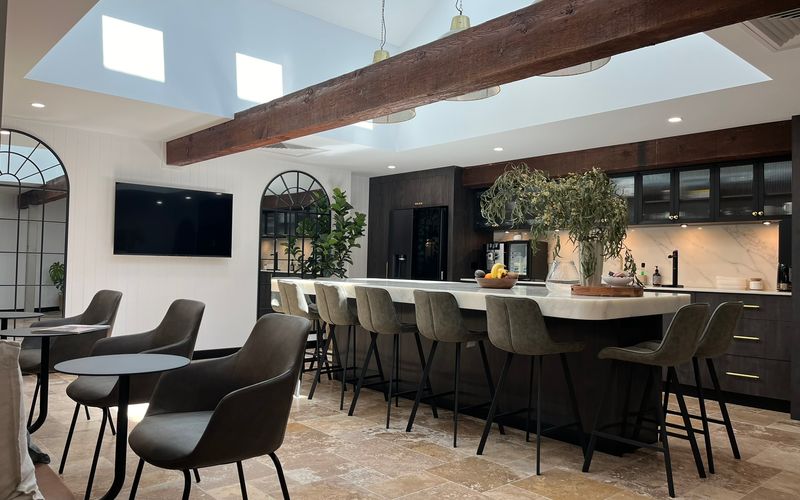
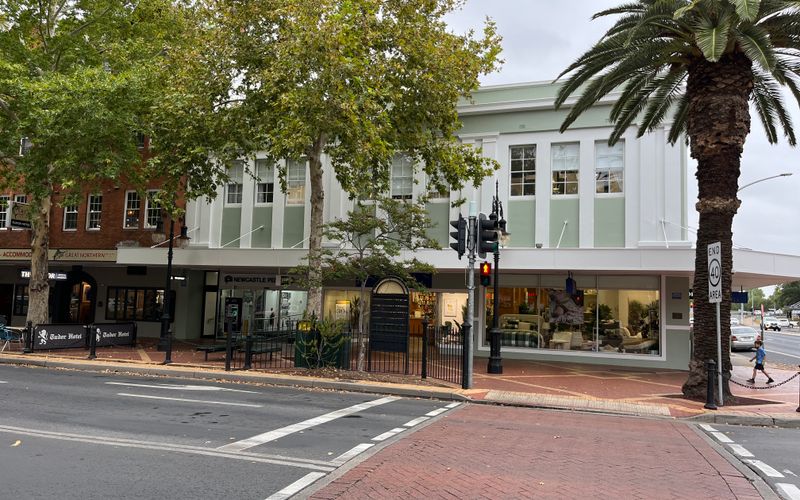
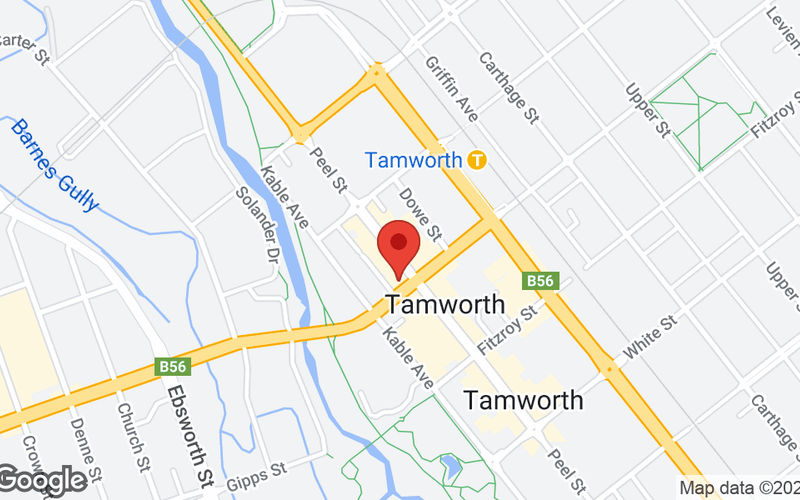
DPARTMNT
315 Peel Street, Tamworth
1 DESK
VIRTUAL
(B) Peel St opp Bligh St • 1 mins walk
(T) Tamworth • 17 mins walk
A$80
/mo
3 other options (1-1 desks)
Enquire
Previous slide
Next slide
10% OFF
Compare
Charles Darwin Centre
19 Smith Street, Darwin City
1 DESK
VIRTUAL
(B) Darwin Interchange • 2 mins walk
(T) Darwin Passenger Rail • 207 mins walk
A$136
/mo
was A$151 /mo
Enquire
Previous slide
Next slide
10% OFF
Compare
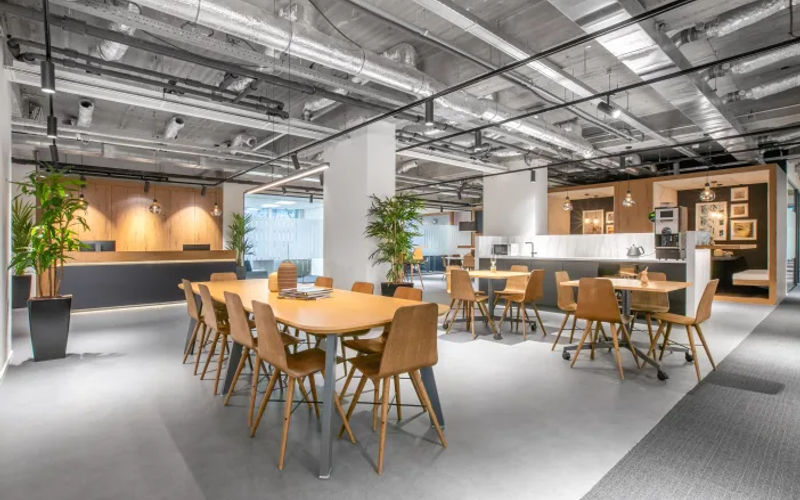
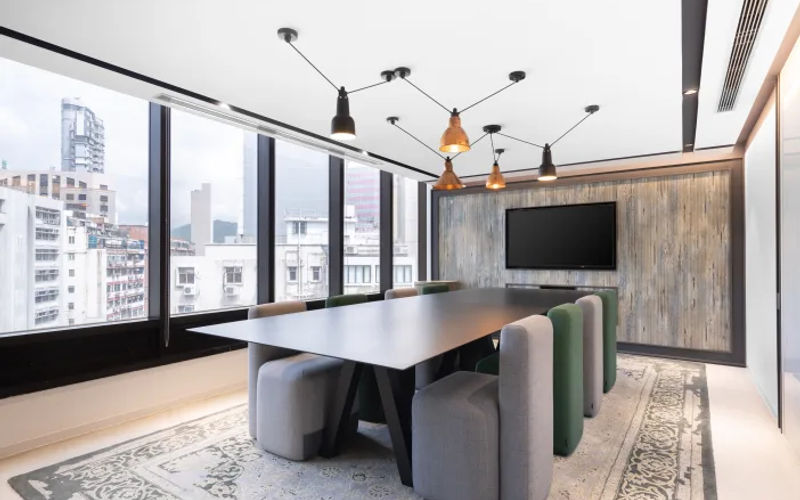
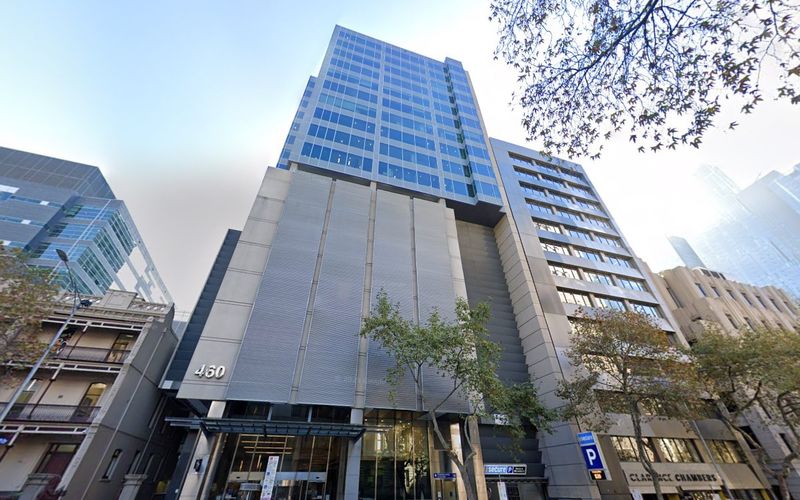
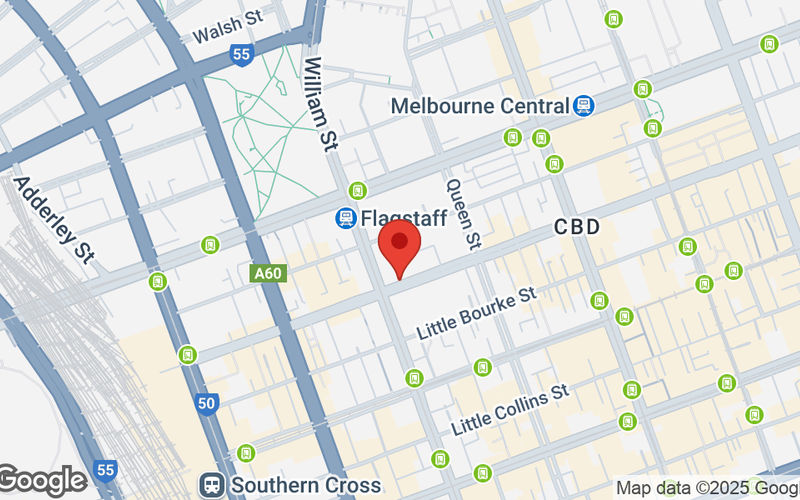
460 Lonsdale Street
460 Lonsdale Street, Melbourne
1 DESK
VIRTUAL
(B) Lonsdale Street - Stop 6 • 1 mins walk
(T) Flagstaff • 3 mins walk
A$115
/mo
was A$128 /mo
Enquire
Previous slide
Next slide
10% OFF
Compare
QV Tower
180 Lonsdale Street, Melbourne
1 DESK
VIRTUAL
(B) Swanston St • 2 mins walk
(T) Melbourne Central Station • 4 mins walk
A$100
/mo
was A$111 /mo
Enquire
Previous slide
Next slide
10% off on 12 months
Compare
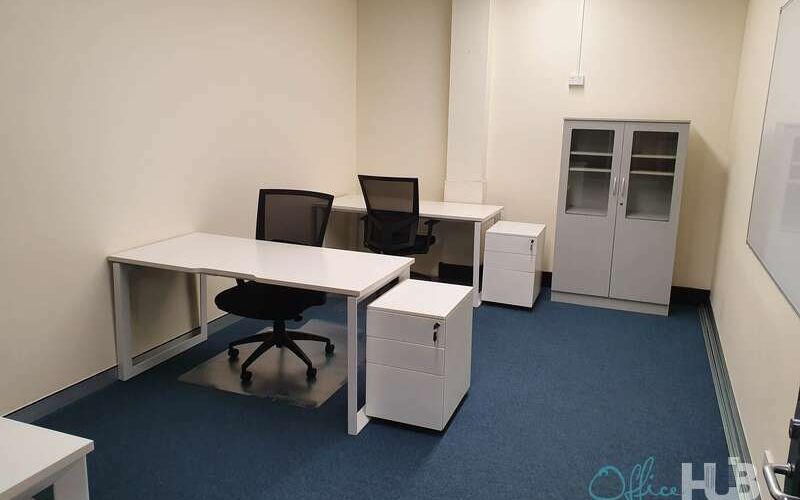
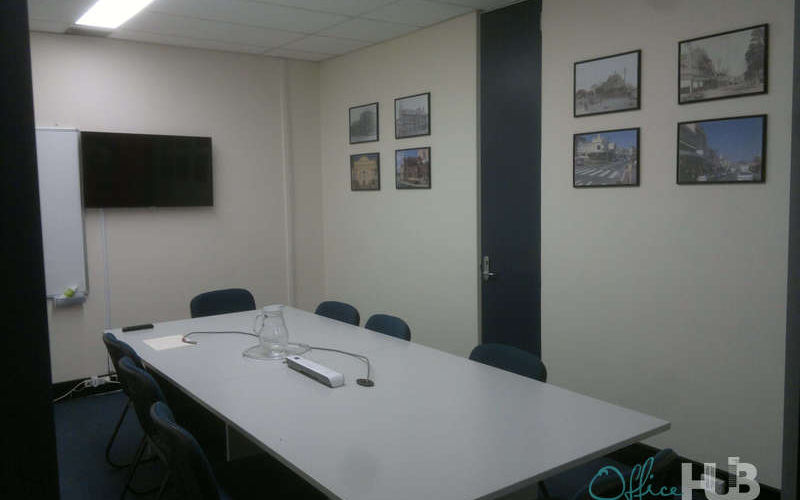
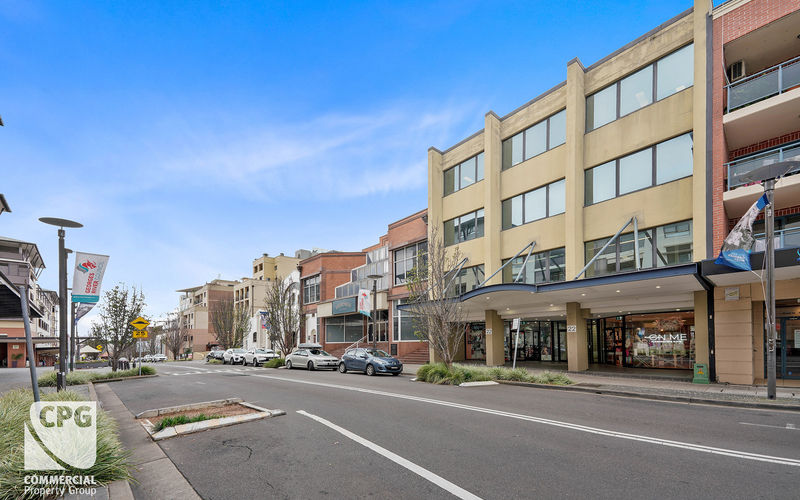
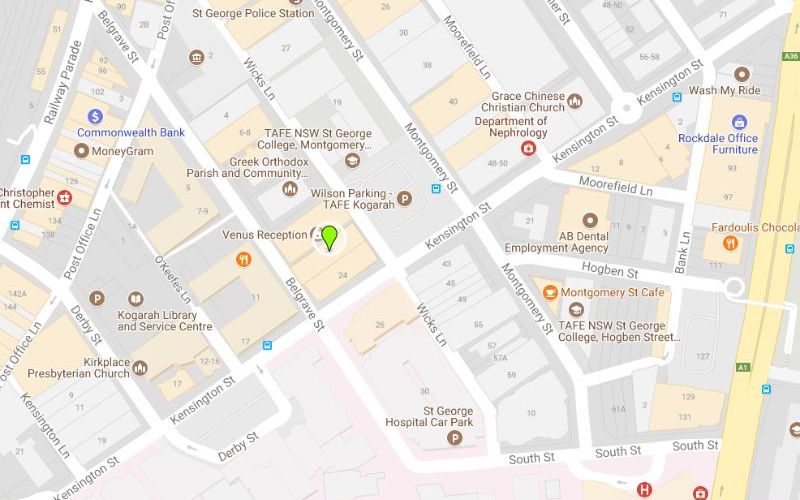
Kogarah Professional Centre
22 Belgrave Street, Kogarah
1 DESK
VIRTUAL
(B) Kogarah Station, Railway Pde, Stand C • 3 mins walk
(T) Kogarah Station • 6 mins walk
A$153
/mo
was A$170 /mo
Enquire
Previous slide
Next slide
10% OFF
Compare
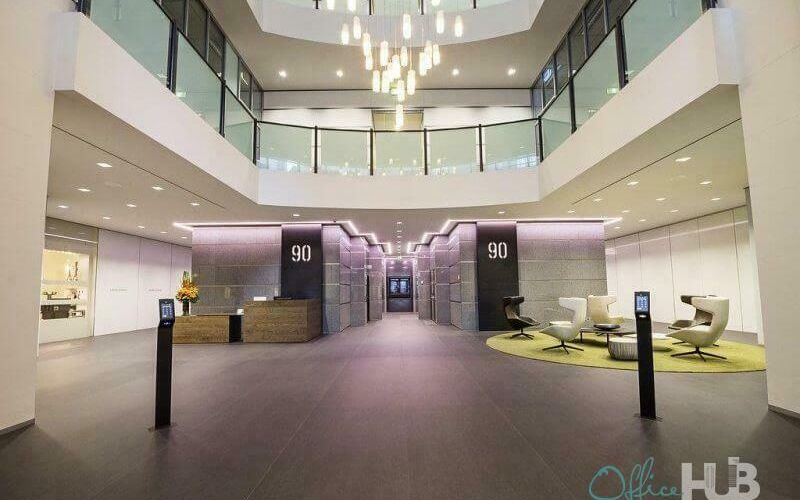
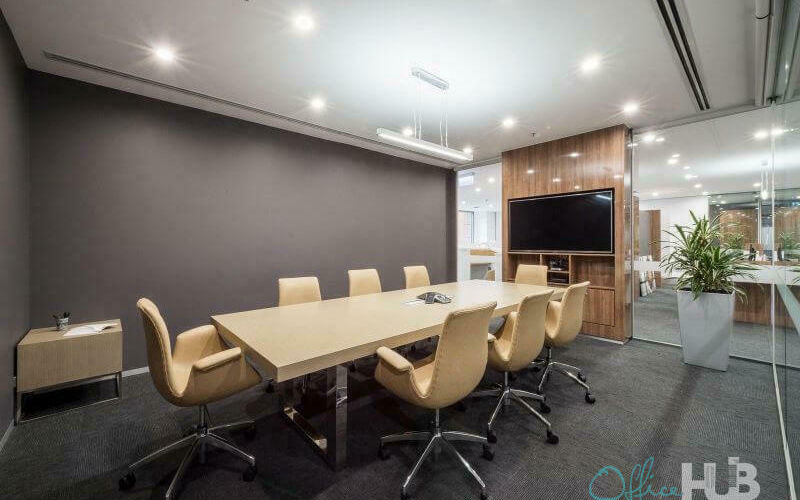
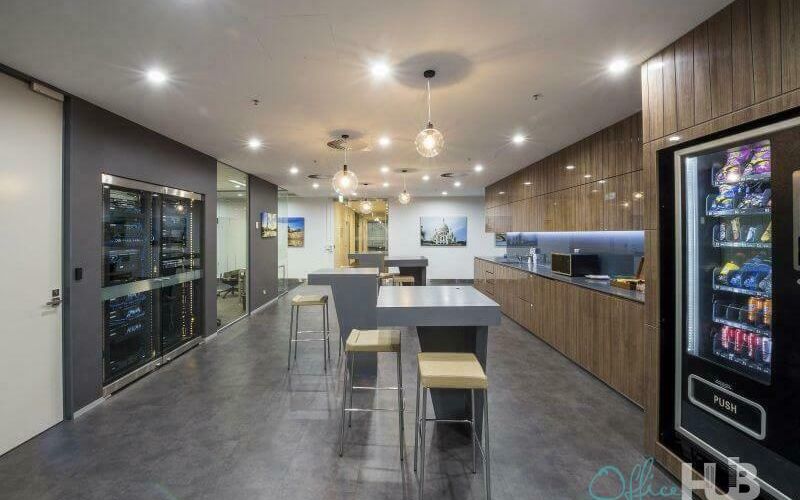
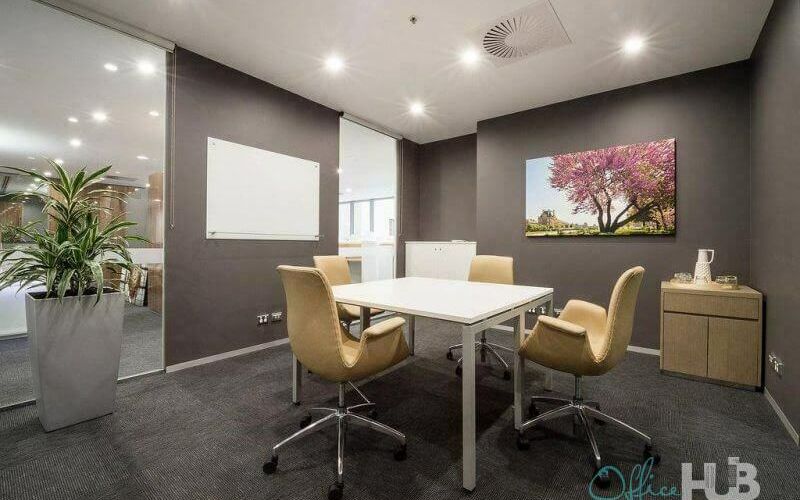
90 Collins Street
90 Collins Street, Melbourne
1 DESK
VIRTUAL
(B) Scots' Church • 2 mins walk
(T) Parliament • 8 mins walk
A$195
/mo
was A$217 /mo
Enquire
Previous slide
Next slide
10% OFF
Compare
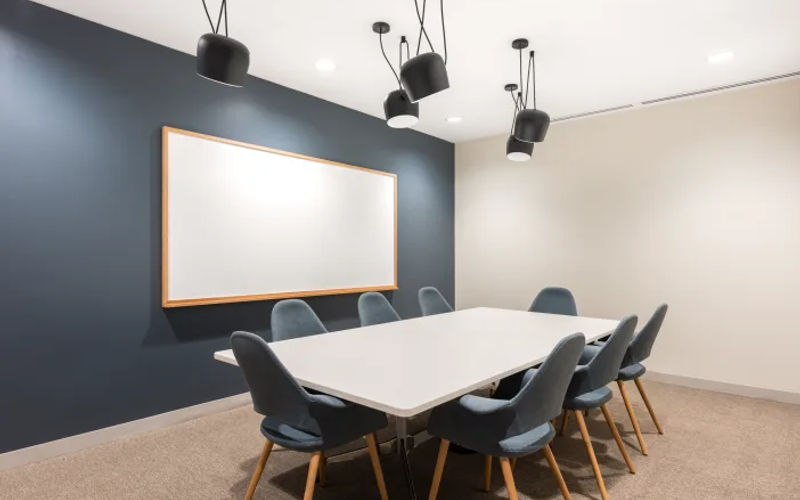
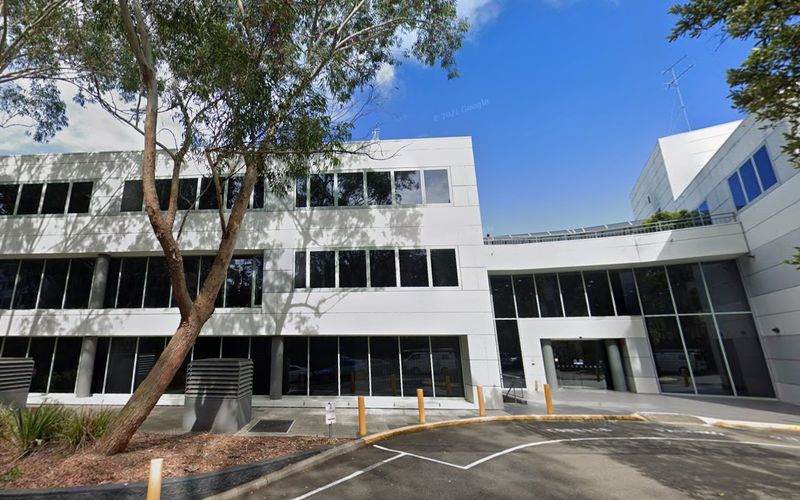
166 Epping Road
166 Epping Road, Lane Cove West
1 DESK
VIRTUAL
(B) 150 Epping Rd • 2 mins walk
(T) North Ryde • 23 mins walk
A$100
/mo
was A$111 /mo
Enquire
Previous slide
Next slide
Sign 12 get 1 month FREE
Compare
Tower Three, International Towers
300 Barangaroo Avenue, Sydney
1 DESK
VIRTUAL
(B) Sussex St before Erskine St • 3 mins walk
(T) Wynyard • 7 mins walk
A$128
/mo
was A$140 /mo
Enquire
Previous slide
Next slide
10% OFF
Compare
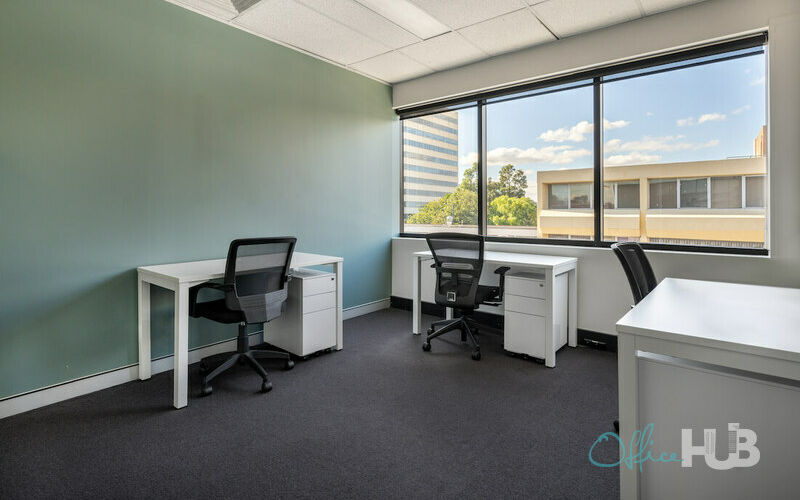
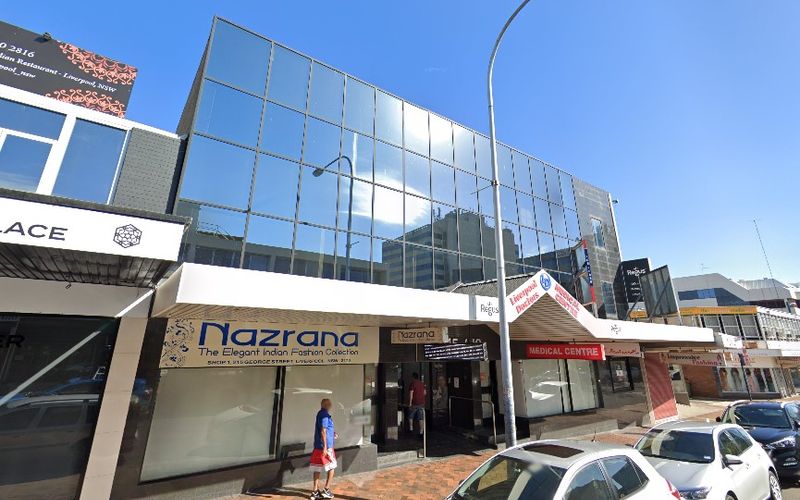
215-219 George Street
215-219 George Street, Liverpool
1 DESK
VIRTUAL
(B) Bigge St opp Liverpool Station • 5 mins walk
(T) Liverpool Station • 6 mins walk
A$185
/mo
was A$205 /mo
Enquire
Previous slide
Next slide
30% OFF
Compare
570 Bourke Street
570 Bourke Street, Melbourne
1 DESK
VIRTUAL
(B) Bourke St • 5 mins walk
(T) Flagstaff Station • 7 mins walk
A$95
/mo
was A$135 /mo
Enquire
Previous slide
Next slide
Compare
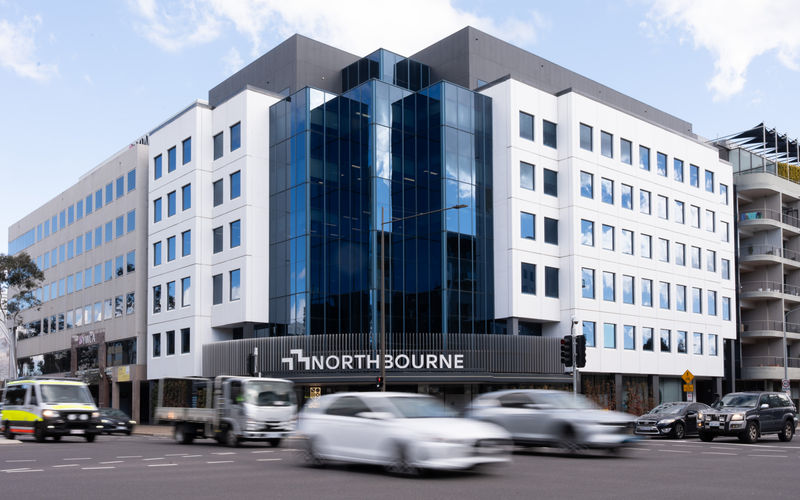
73 Northbourne Avenue
73 Northbourne Avenue, Canberra
1 DESK
VIRTUAL
(B) Jolimont Tourist Centre • 3 mins walk
(T) Alinga Street light rail station • 4 mins walk
A$70
/mo
6 other options (1-8 desks)
Enquire
Previous slide
Next slide
10% OFF
Compare
1 Main Street
1 Main Street Box Hill Central, Box Hill
1 DESK
VIRTUAL
(B) Box Hill Bus Station/Station St • 3 mins walk
(T) Box Hill • 7 mins walk
A$115
/mo
was A$128 /mo
Enquire
Previous slide
Next slide
Compare
Collins Tower
568 Collins Street, Melbourne
1 DESK
VIRTUAL
(B) Southern Cross Station - Stop 1 • 1 mins walk
(T) Southern Cross • 3 mins walk
A$100
/mo
7 other options (1-4 desks)
Enquire
Previous slide
Next slide
25% off on 12 months
Compare
9 Castlereagh Street
9 Castlereagh Street, Sydney
1 DESK
VIRTUAL
(B) Martin Place Station, Elizabeth St, Stand C • 3 mins walk
(T) Martin Place Station, Elizabeth St, Stand C • 3 mins walk
A$308
/mo
was A$440 /mo
Enquire
Previous slide
Next slide
10% OFF
Compare
71 Gipps Street
71 Gipps Street, Collingwood
1 DESK
VIRTUAL
(B) Gipps St/Hoddle St • 3 mins walk
(T) Collingwood • 5 mins walk
A$175
/mo
was A$194 /mo
Enquire
Previous slide
Next slide
10% OFF
Compare
486 Lower Heidelberg Road
486 Lower Heidelberg Road, Heidelberg
1 DESK
VIRTUAL
(B) Heidelberg PS • 4 mins walk
(T) Heidelberg Station • 12 mins walk
A$122
/mo
was A$135 /mo
Enquire
Previous slide
Next slide
10% OFF
Compare
460 Lonsdale Street
460 Lonsdale Street, Melbourne
1 DESK
VIRTUAL
(B) Lonsdale Street - Stop 6 • 1 mins walk
(T) Flagstaff • 3 mins walk
A$115
/mo
was A$128 /mo
Enquire
Previous slide
Next slide
10% OFF
Compare
45 Evans Street Balmain
45 Evans Street, Balmain
1 DESK
VIRTUAL
(B) Harris St at John St • 45 mins walk
(T) Darling St at Beattie St • 4 mins walk
A$62
/mo
was A$69 /mo
Enquire
Previous slide
Next slide
First Month FREE
Compare
101 Collins
101 Collins Street, Melbourne
1 DESK
VIRTUAL
(B) Scots' Church • 6 mins walk
(T) 1. Flinders Street Station • 9 mins walk
A$303
/mo
was A$379 /mo
Enquire
Previous slide
Next slide
First Month FREE
Compare
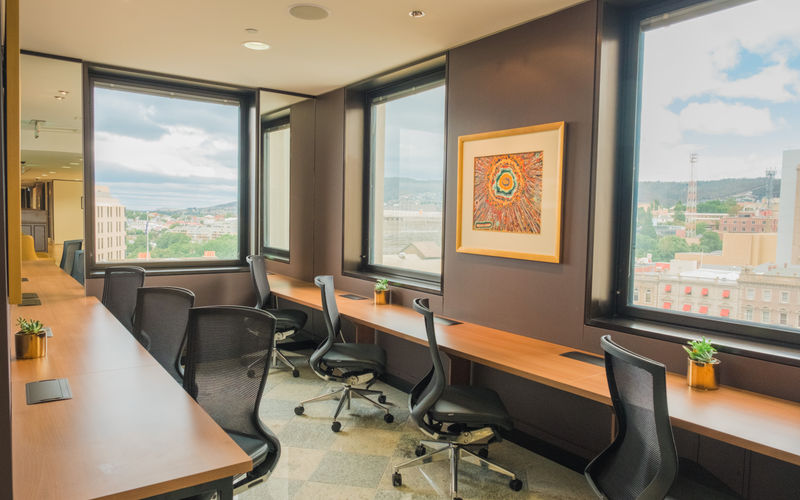
Reserve Bank
111 Macquarie Street, Hobart
1 DESK
VIRTUAL
(B) Macquarie St outside St Davids Cathedral • 1 mins walk
(T) Derwent Park Junction • 81 mins walk
A$255
/mo
was A$319 /mo
Enquire
Previous slide
Next slide
10% OFF
Compare
Kings Court
8-12 King Street, Rockdale
1 DESK
VIRTUAL
(B) Rockdale Station, Princes Hwy, Stand E • 2 mins walk
(T) Rockdale Station, Princes Hwy, Stand E • 2 mins walk
A$62
/mo
was A$69 /mo
Enquire
Previous slide
Next slide
Sign 12 get 1 month FREE
Compare
100 Market Street
100 Market Street, Sydney
1 DESK
VIRTUAL
(B) St James Station • 2 mins walk
(T) St James • 1 mins walk
A$183
/mo
was A$200 /mo
Enquire
Previous slide
Next slide
10% OFF
Compare
1096 Doncaster Road
1096 Doncaster Road, Doncaster
1 DESK
VIRTUAL
(B) Tunstall Square SC • 2 mins walk
(T) Nunawading • 46 mins walk
A$115
/mo
was A$128 /mo
Enquire
Previous slide
Next slide
Sign 12 get 1 month FREE
Compare
ACA Building
66 King Street, Sydney
1 DESK
VIRTUAL
(B) Clarence St at King St • 3 mins walk
(T) Wynyard • 6 mins walk
A$91
/mo
was A$99 /mo
Enquire
Previous slide
Next slide
First Month FREE
Compare
Riverside Quay
1 Southbank Boulevard, Southbank
1 DESK
VIRTUAL
(B) Casino East • 2 mins walk
(T) 1. Flinders Street Station • 10 mins walk
A$198
/mo
was A$309 /mo
Enquire
Previous slide
Next slide
Free Meeting Rooms
Compare
12 Pirie Street
12 Pirie Street, Adelaide
1 DESK
VIRTUAL
(B) Pirie St • 2 mins walk
(T) Adelaide Railway Station • 10 mins walk
A$150
/mo
was A$200 /mo
Enquire
Previous slide
Next slide
10% off on 12 months
Compare
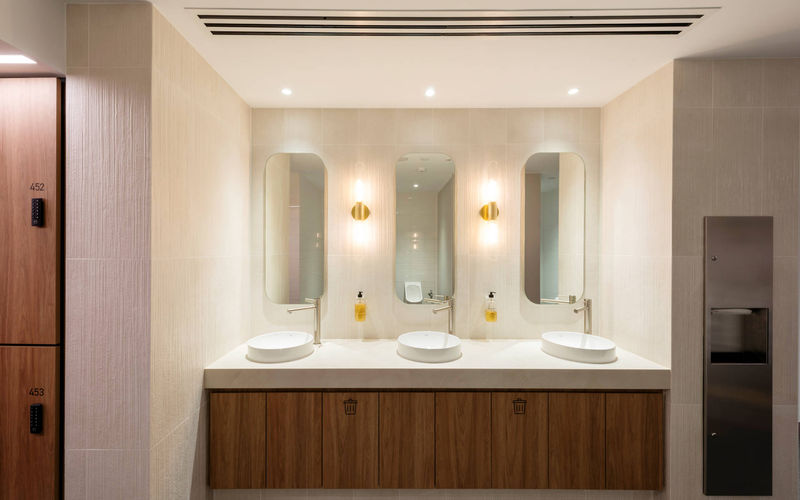
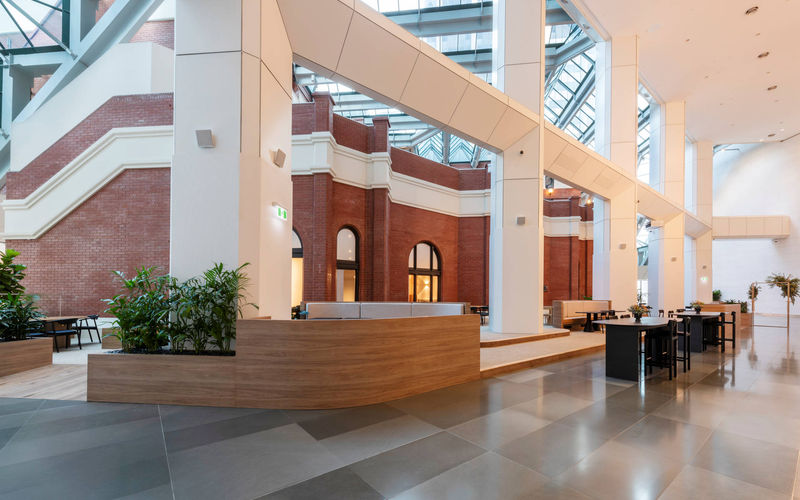
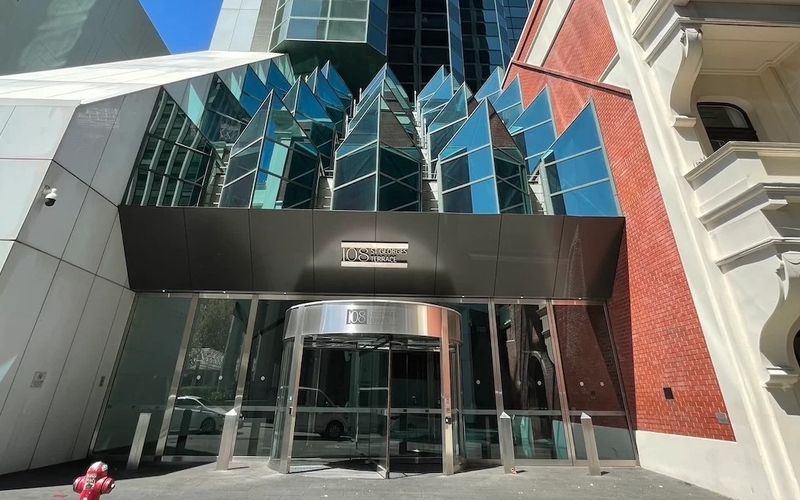
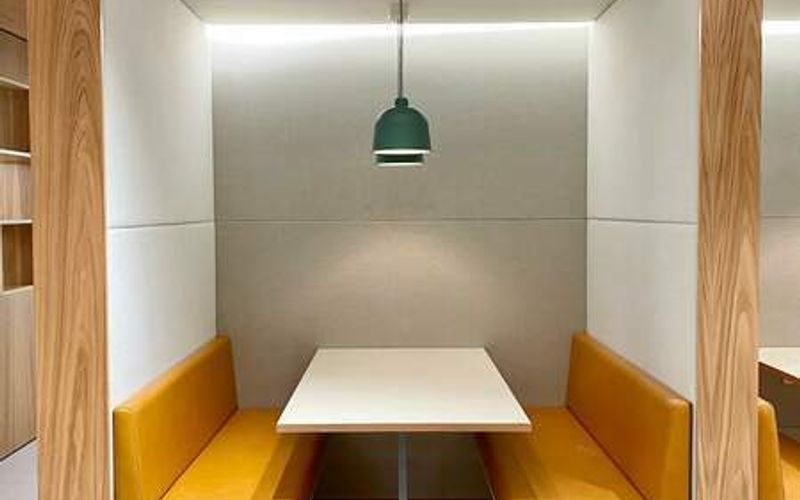
Palace Tower
108 St Georges Terrace, Perth
1 DESK
VIRTUAL
(B) St Georges Tce Stand B E - Before William St • 2 mins walk
(T) Perth Underground • 3 mins walk
A$135
/mo
was A$150 /mo
Enquire
Previous slide
Next slide
10% OFF
Compare
The Como Centre
644 Chapel Street, South Yarra
1 DESK
VIRTUAL
(B) Chapel St • 7 mins walk
(T) South Yarra Station • 6 mins walk
A$126
/mo
was A$140 /mo
Enquire
Previous slide
Next slide
10% OFF
Compare
85 Spring Street
85 Spring Street, Melbourne
1 DESK
VIRTUAL
(B) Spring St/Collins St #8 • 2 mins walk
(T) Parliament • 2 mins walk
A$115
/mo
was A$128 /mo
Enquire
Previous slide
Next slide
10% OFF
Compare
Sixty Martin Place
60 Martin Place, Sydney
1 DESK
VIRTUAL
(B) Martin Place Station, Elizabeth St, Stand F • 1 mins walk
(T) St James Station • 5 mins walk
A$100
/mo
was A$111 /mo
Enquire
Previous slide
Next slide
Sign 12 get 2 months FREE
Compare
The Innovation Factory
60 Halifax Street, Adelaide
1 DESK
VIRTUAL
(B) Stop F1 Halifax St - North side • 2 mins walk
(T) Adelaide Railway Station • 22 mins walk
A$137
/mo
was A$165 /mo
Enquire
Previous slide
Next slide
10% OFF
Compare
75 Nerang Street
75 Nerang Street, Southport
1 DESK
VIRTUAL
(B) Southport turnback • 3 mins walk
(T) Southport turnback • 3 mins walk
A$100
/mo
was A$111 /mo
Enquire
Previous slide
Next slide
10% OFF
Compare
280 Flinders Street
280 Flinders Street, Townsville
1 DESK
VIRTUAL
(B) Flinders St near Denham Lane hail 'n' ride • 2 mins walk
(T) Townsville Railway Station • 23 mins walk
A$73
/mo
was A$81 /mo
Enquire
Previous slide
Next slide
10% OFF
Compare
Edgeworth Medical Centre
22-28 Edgeworth David Avenue, Hornsby
1 DESK
VIRTUAL
(B) Hornsby Station, George St • 9 mins walk
(T) Willow Park Community Centre, Edgeworth David Ave • 2 mins walk
A$62
/mo
was A$69 /mo
Enquire
Previous slide
Next slide
10% OFF
Compare
71 Gipps Street
71 Gipps Street, Collingwood
1 DESK
VIRTUAL
(B) Gipps St/Hoddle St • 3 mins walk
(T) Collingwood • 5 mins walk
A$175
/mo
was A$194 /mo
Enquire
Previous slide
Next slide
Sign 12 get 2 months FREE
Compare
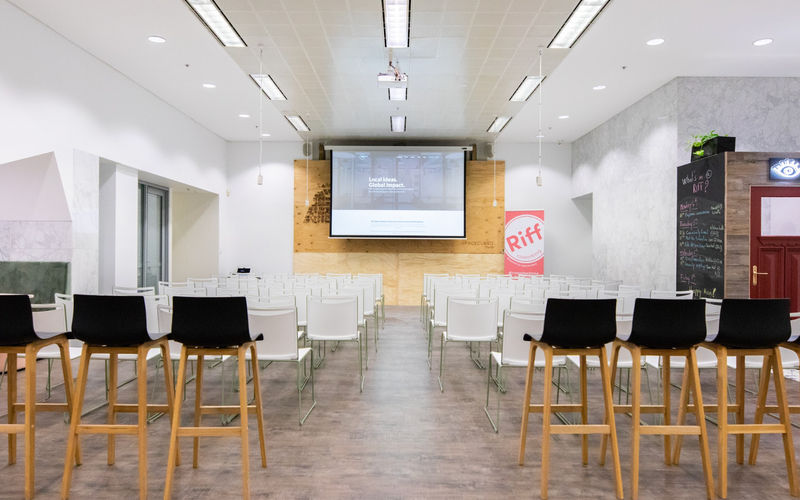
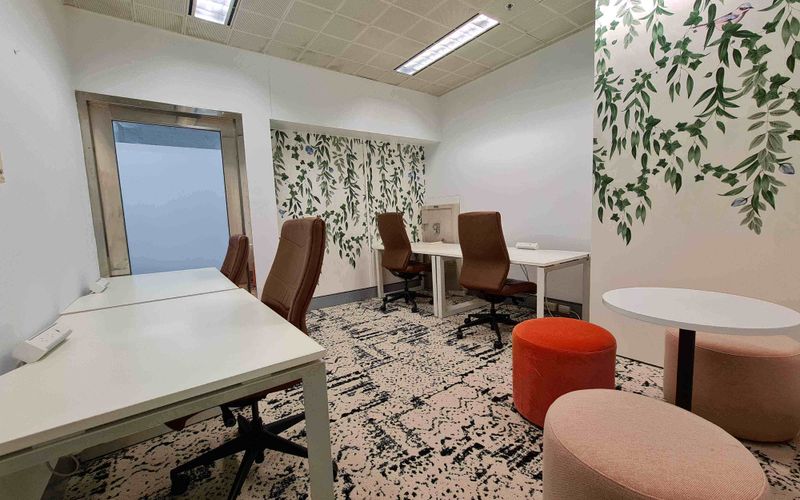
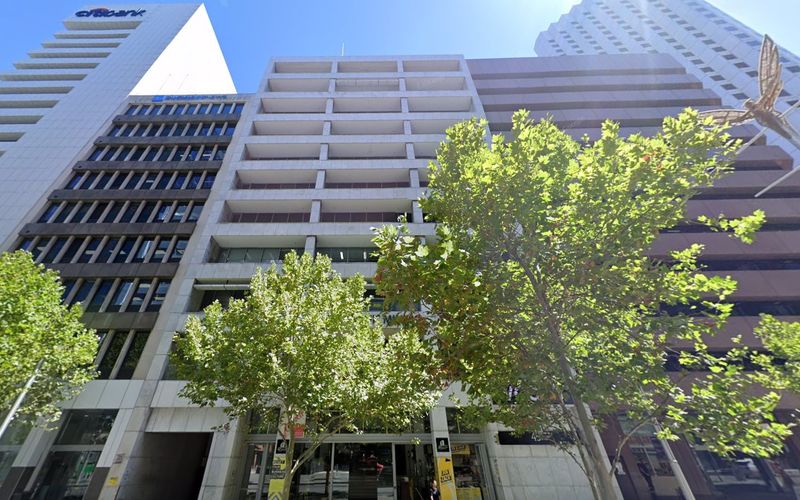
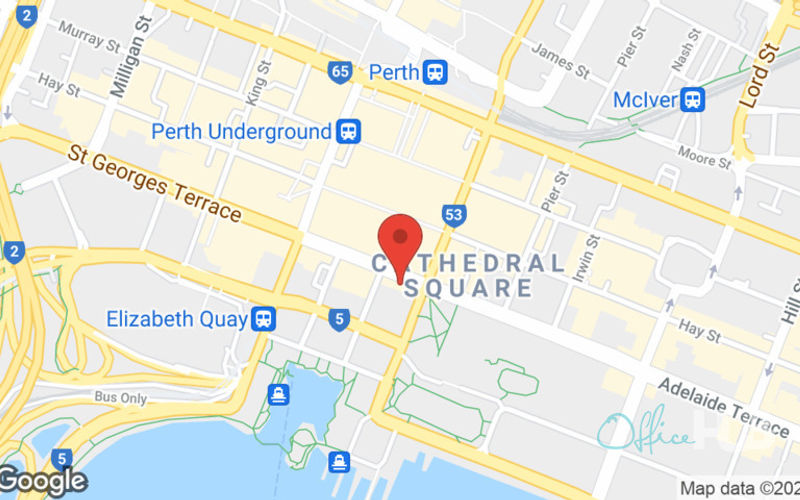
Riff
45 St Georges Terrace, Perth
1 DESK
VIRTUAL
(B) St Georges Tce After Barrack St Westbound • 1 mins walk
(T) Elizabeth Quay • 7 mins walk
A$83
/mo
was A$100 /mo
Enquire
Previous slide
Next slide
Compare
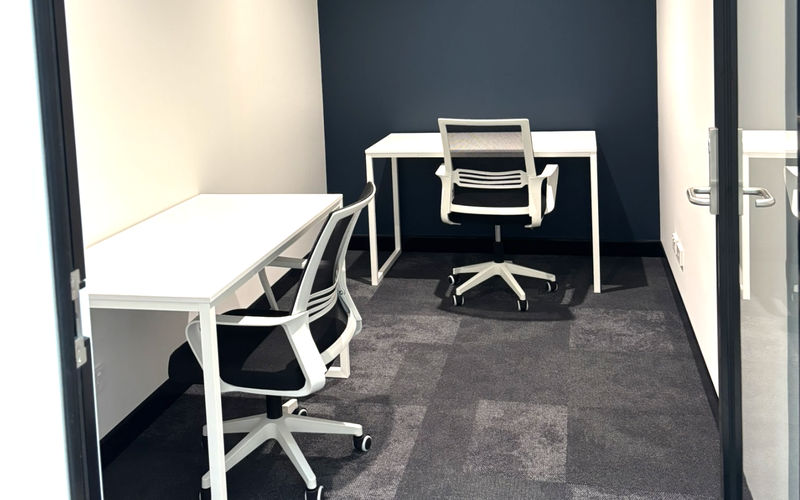
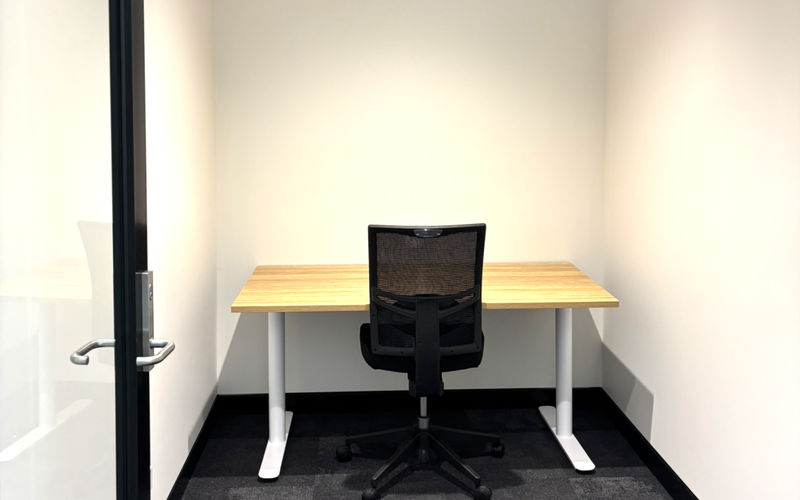
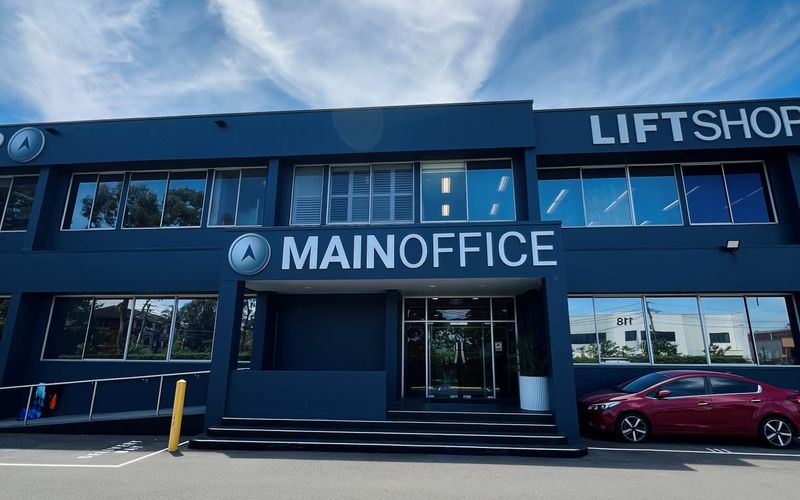
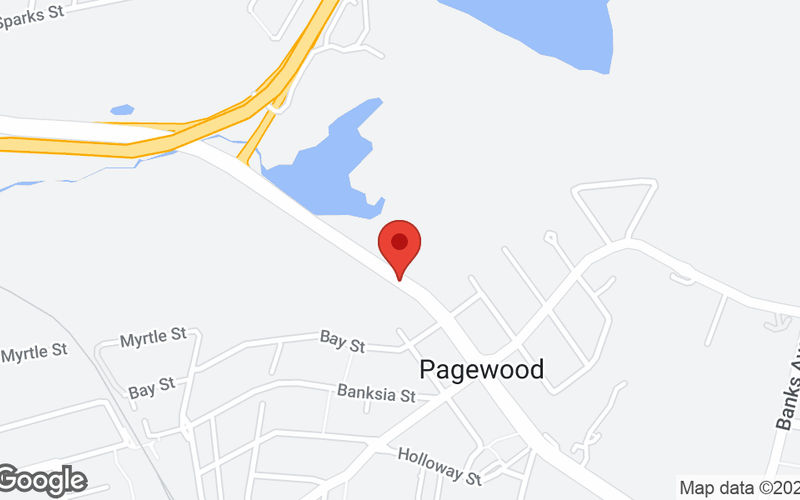
Main Office
41-51 Wentworth Avenue, Pagewood
1 DESK
VIRTUAL
(B) Wentworth Ave after Page St • 3 mins walk
(T) Sydney Domestic Airport Station • 44 mins walk
A$55
/mo
8 other options (1-41 desks)
Enquire
Previous slide
Next slide
10% OFF
Compare
222 Hoddle Street
222 Hoddle Street, Abbotsford
1 DESK
VIRTUAL
(B) Hoddle St/Johnston St • 1 mins walk
(T) Victoria Park railway station • 3 mins walk
A$126
/mo
was A$140 /mo
Enquire
Previous slide
Next slide
10% OFF
Compare
Adelaide Victoria Park
169 Fullarton Road, Dulwich
1 DESK
VIRTUAL
(B) Stop I1 Grenfell St - North side • 29 mins walk
(T) Adelaide Railway Station • 45 mins walk
A$104
/mo
was A$116 /mo
Enquire
Previous
1
2
More pages
7
Next


-NT-Darwin-City-19-Smith-Street-66296.jpg)
-NT-Darwin-City-19-Smith-Street-66298.jpg)
-NT-Darwin-City-19-Smith-Street-66294.jpg)
-NT-Darwin-City-19-Smith-Street-66304.jpg)
-NT-Darwin-City-19-Smith-Street-66295.jpg)
-NT-Darwin-City-19-Smith-Street-66299.jpg)
-NT-Darwin-City-19-Smith-Street-66297.jpg)
-NT-Darwin-City-19-Smith-Street-66301.jpg)
-NT-Darwin-City-19-Smith-Street-66303.jpg)
-NT-Darwin-City-19-Smith-Street-66293.jpg)
-NT-Darwin-City-19-Smith-Street-66292.jpg)


-VIC-Melbourne-180-Lonsdale-Street-102686.jpg)
-VIC-Melbourne-180-Lonsdale-Street-102685.jpg)
-VIC-Melbourne-180-Lonsdale-Street-102688.jpg)
-VIC-Melbourne-180-Lonsdale-Street-102693.jpg)
-VIC-Melbourne-180-Lonsdale-Street-102687.jpg)
-VIC-Melbourne-180-Lonsdale-Street-102690.jpg)
-VIC-Melbourne-180-Lonsdale-Street-102689.jpg)

-VIC-Melbourne-180-Lonsdale-Street-102695.jpg)
-VIC-Melbourne-180-Lonsdale-Street-102692.jpg)


-VIC-Melbourne-90-Collins-Street-100149.jpg)
-VIC-Melbourne-90-Collins-Street-100143.jpg)
-VIC-Melbourne-90-Collins-Street-100146.jpg)
-VIC-Melbourne-90-Collins-Street-100147.jpg)
-VIC-Melbourne-90-Collins-Street-100148.jpg)


-VIC-Melbourne-90-Collins-Street-100140.jpg)
-VIC-Melbourne-90-Collins-Street-100144.jpg)
-VIC-Melbourne-90-Collins-Street-100150.jpg)
-NSW-Lane-Cove-West-166-Epping-Road-3996304.jpg)


-NSW-Sydney-300-Barangaroo-Avenue-380624.jpg)
-NSW-Liverpool-215-219-George-Street-172299.jpg)
-NSW-Liverpool-215-219-George-Street-172305.jpg)
-NSW-Liverpool-215-219-George-Street-172298.jpg)
-NSW-Liverpool-215-219-George-Street-172307.jpg)
-NSW-Liverpool-215-219-George-Street-172306.jpg)

-NSW-Liverpool-215-219-George-Street-172304.jpg)


-VIC-Melbourne-570-Bourke-Street-140692.jpg)

-ACT-Canberra-73-Northbourne-Avenue-3574789.jpg)


-NSW-Sydney-9-Castlereagh-Street-120566.jpg)

-Victoria-Collingwood-71-Gipps-Street-1283873.jpg)
-Victoria-Collingwood-71-Gipps-Street-1260347.jpg)
-VIC-Heidelberg-486-Lower-Heidelberg-Road-204037.jpg)
-VIC-Heidelberg-486-Lower-Heidelberg-Road-204031.jpg)
-NSW-Balmain-45-Evans-Street-128118.jpg)


-NSW-Balmain-45-Evans-Street-128113.jpg)
-NSW-Balmain-45-Evans-Street-128116.jpg)


-NSW-Balmain-45-Evans-Street-128121.jpg)
-NSW-Balmain-45-Evans-Street-128115.jpg)
-NSW-Balmain-45-Evans-Street-128119.jpg)
-VIC-Melbourne-101-Collins-Street-66332.jpg)


-TAS-Hobart-111-Macquarie-Street-140690.jpg)


-NSW-Rockdale-8-12-King-Street-194855.jpg)


-NSW-Sydney-100-Market-St-3917588.jpg)


-East-Vic-Doncaster-1096-Doncaster-Road-4008316.jpg)


-NSW-Sydney-66-King-Street-3912125.jpg)
-VIC-Southbank-1-Southbank-Boulevard-102789.jpg)


-SA-Adelaide-12-Pirie-Street-871446.jpg)

-WA-Perth-108-St-Georges-Terrace-9275.jpg)
-VIC-South-Yarra-644-Chapel-Street-172317.jpg)
-VIC-South-Yarra-644-Chapel-Street-172320.jpg)
-VIC-South-Yarra-644-Chapel-Street-172315.jpg)
-VIC-South-Yarra-644-Chapel-Street-172322.jpg)
-VIC-South-Yarra-644-Chapel-Street-172321.jpg)
-VIC-South-Yarra-644-Chapel-Street-172319.jpg)
-VIC-South-Yarra-644-Chapel-Street-172324.jpg)
-VIC-South-Yarra-644-Chapel-Street-172325.jpg)
-VIC-South-Yarra-644-Chapel-Street-172323.jpg)


-VIC-Melbourne-85-Spring-Street-3828062.jpg)
-VIC-Melbourne-85-Spring-Street-3828056.jpg)
-NSW-Sydney-60-Martin-Place-733515.jpg)
-NSW-Sydney-60-Martin-Place-733342.jpg)
-NSW-Sydney-60-Martin-Place-733400.jpg)
-NSW-Sydney-60-Martin-Place-733341.jpg)
-NSW-Sydney-60-Martin-Place-733429.jpg)
-NSW-Sydney-60-Martin-Place-733573.jpg)
-NSW-Sydney-60-Martin-Place-733371.jpg)
-NSW-Sydney-60-Martin-Place-733544.jpg)
-NSW-Sydney-60-Martin-Place-601191.jpg)
-NSW-Sydney-60-Martin-Place-599331.jpg)
-SA-Adelaide-60-Halifax-Street-1080307.jpg)
-SA-Adelaide-60-Halifax-Street-1412612.jpg)

-SA-Adelaide-60-Halifax-Street-1080319.jpg)
-SA-Adelaide-60-Halifax-Street-873644.jpg)


-QLD-Townsville-280-Flinders-Street-4107679.jpg)
-NSW-Hornsby-22-28-Edgeworth-David-Avenue-172335.jpg)
-NSW-Hornsby-22-28-Edgeworth-David-Avenue-172340.jpg)
-NSW-Hornsby-22-28-Edgeworth-David-Avenue-172339.jpg)
-NSW-Hornsby-22-28-Edgeworth-David-Avenue-172337.jpg)
-NSW-Hornsby-22-28-Edgeworth-David-Avenue-100073.jpg)
-NSW-Hornsby-22-28-Edgeworth-David-Avenue-172336.jpg)


-VIC-Abbotsford-222-Hoddle-Street-4090256.jpg)
-SA-Dulwich-169-Fullarton-Road-32711.jpg)
-SA-Dulwich-169-Fullarton-Road-32714.jpg)
-SA-Dulwich-169-Fullarton-Road-32713.jpg)
-SA-Dulwich-169-Fullarton-Road-32715.jpg)
-SA-Dulwich-169-Fullarton-Road-32716.jpg)

-SA-Dulwich-169-Fullarton-Road-32712.jpg)
-SA-Dulwich-169-Fullarton-Road-32710.jpg)